SoCal Beekeeping
Building a Telescoping Hive Cover
11/7/2017
Michael Henderson
I was going through one of my hives that has a migratory cover recently and it looked like water had leaked into the hive. The hive is healthy and growing but is still a bit small. A bigger hive would have sealed the space between the cover and the box with wax and propolis but this hive probably had not completely sealed the hive. So I decided to make a telescoping cover for the hive because a telescoping cover will do a better job of keeping rain out of the hive.
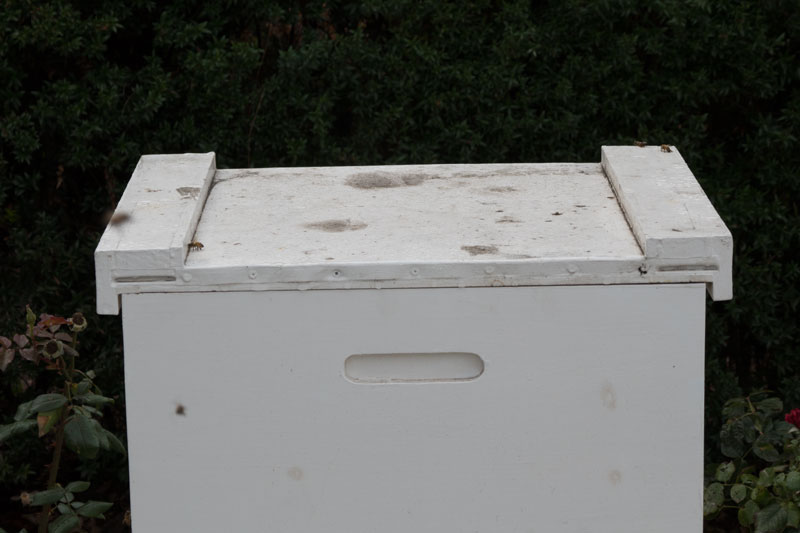
I haven't used a telescoping cover before and have never seen one in person - but I did some research on the web and added some ideas of my own. The difference between a migratory cover and a telescoping cover is that the telescoping cover comes down over all four sides of the box. A migratory cover comes down over only two sides of the box, and the other two sides are just sitting on top of the box as shown in the next picture. The commercial beekeepers only use migratory covers because it allows them to put their hives tight against each other when transporting them on pallets (on a truck).
I decided to make the sides of the telescoping cover 3 inches wide. The sides don't have to be 3 inches wide - they can be 2 1/2 inches wide or even 2 inches wide. [Update: 3 inches is too much. Go with 2 inches.]
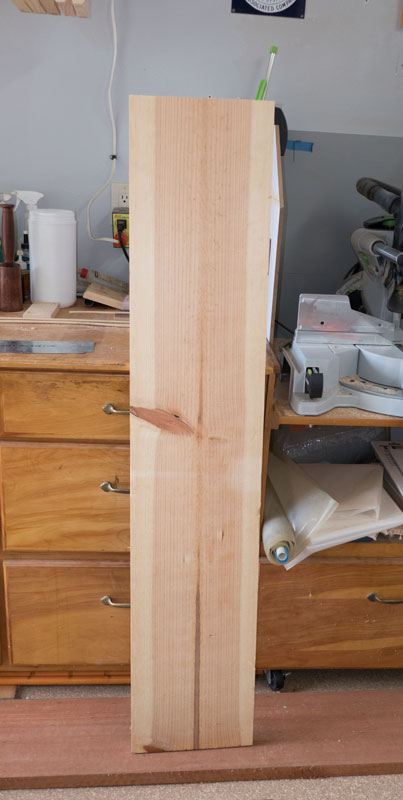
I'm going to make the cover out of pine. Here's a piece of 1 by 12 pine that I have on hand. It's not really 12 inches wide, it's more like 11 (and a little bit) inches wide so I won't get four 3 inch pieces out of one section. This is one reason you might want to make the sides 2 !/2 inches wide - you could get four pieces out of a 1 by 12. And it's more like 3/4 inches thick.
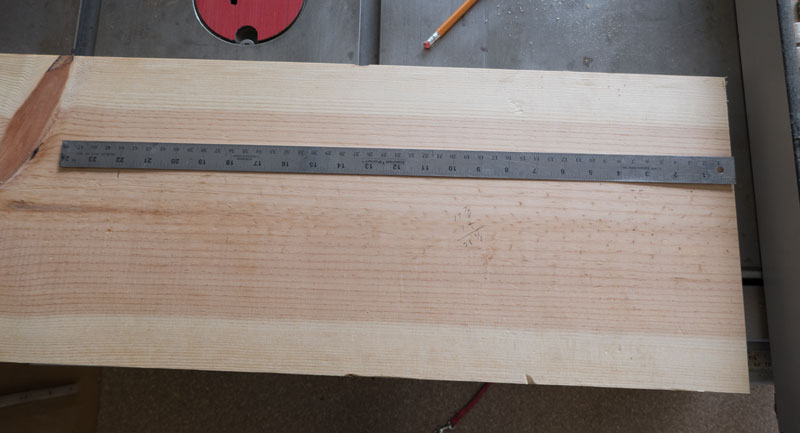
A ten frame box is 19 7/8 inches by 16 1/4 inches on the outside. I want to have 1/8 inch space between the top and the box all around, so the inside dimensions of the top need to be 20 1/8 inches by 16 1/2 inches. That's the inside. Taking into account the thickness of the wood, I need the the long sides to be about 21 5/8 inches, and the short side about 17 inches. Since I'm going to put the short sides inside the long sides, the short sides only have to be 16 1/2 inches. I'm going to cut a section of this board to be 22 inches long.
You could save an inch or so by putting the long sides inside the short sides but I chose to do it the other way.
I cut it on my sliding miter saw.

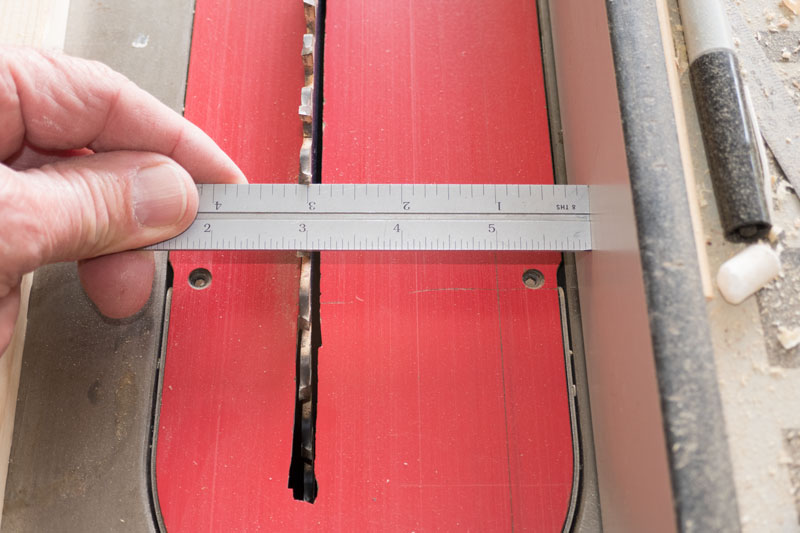
Then I set my table saw to a 3 inch cut.
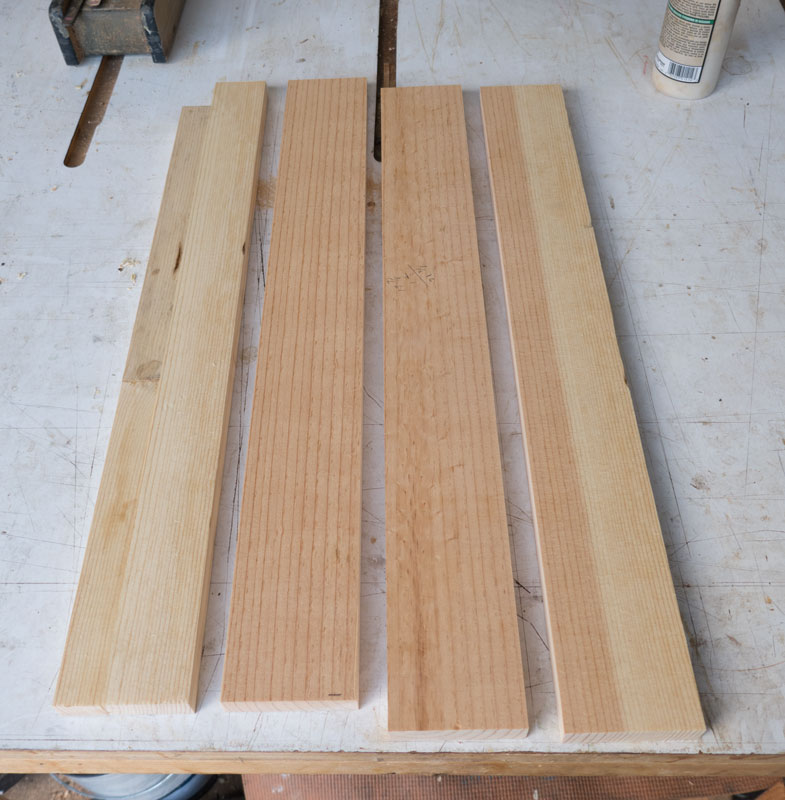
And cut the 22 inch board into four pieces.
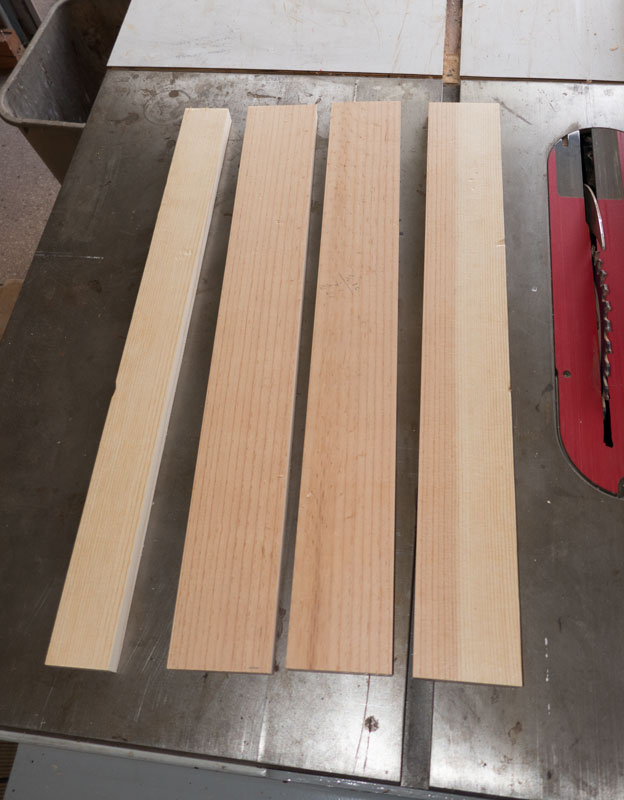
Note that I have three pieces that are 3 inches wide and one that is less than 3 inches. I could go back to my original board and cut another piece but that would be wasteful. What I'm going to do is take some scrap pine that I have in the shop and glue it to the short board.
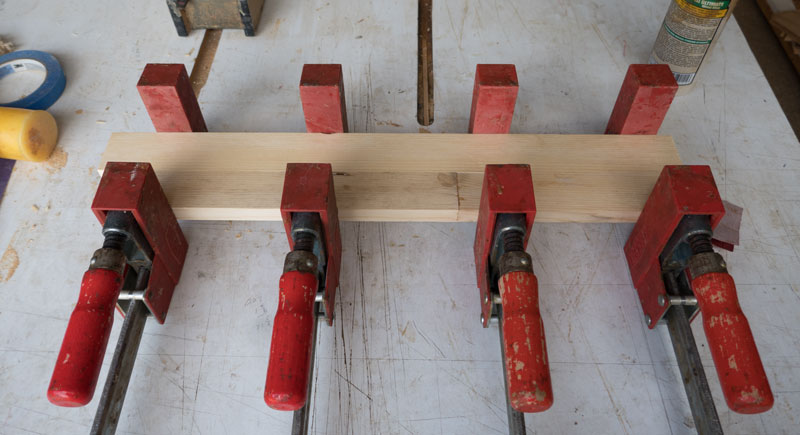
I use a water proof glue - here Titebond III - to glue up the pieces. Since the scrap is shorter than 22 inches, I'll make this piece a side piece.
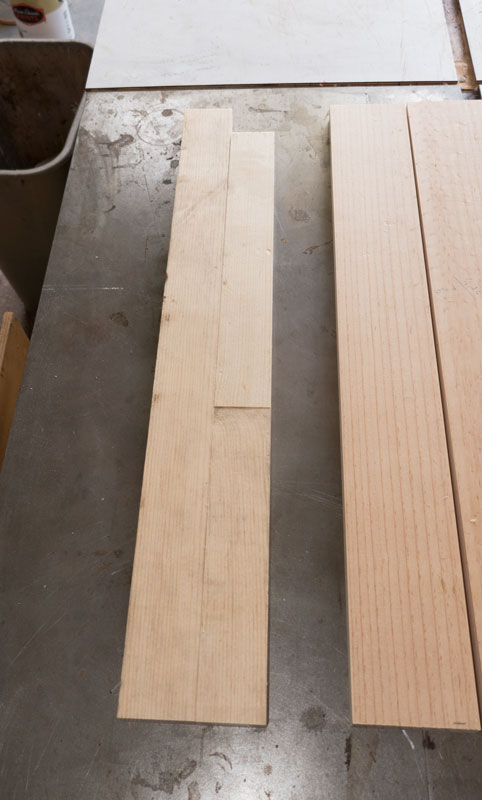
Here's the wood after I took it out of the clamps - too wide but I still have the table saw set up for the 3 inch cut.
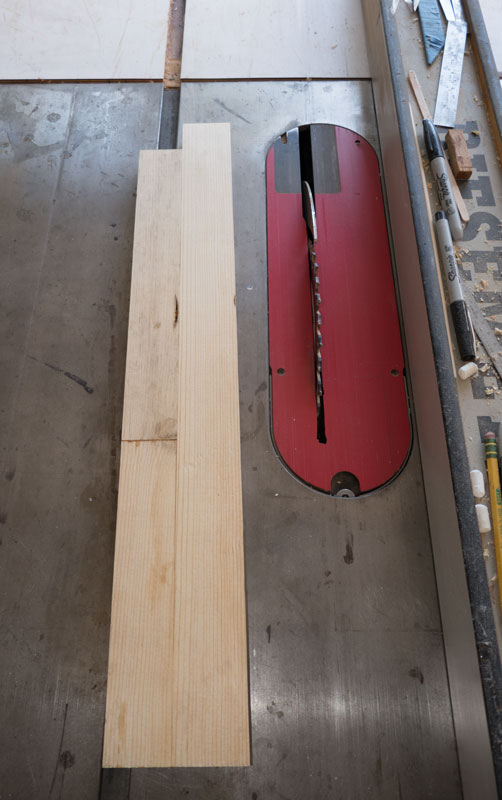
After I cut this piece, it's the same width as the others.
My next step is the cut the long pieces to length. I want the inside along the long side to be 20 1/8 inches. The easiest way to get that length is to put the two short sides together, laying flat, and put one of the long sides against the end, as shown in the following picture. I clamped the two sides that are lying down just to make sure they are compressed tightly - so I get a good measurement.
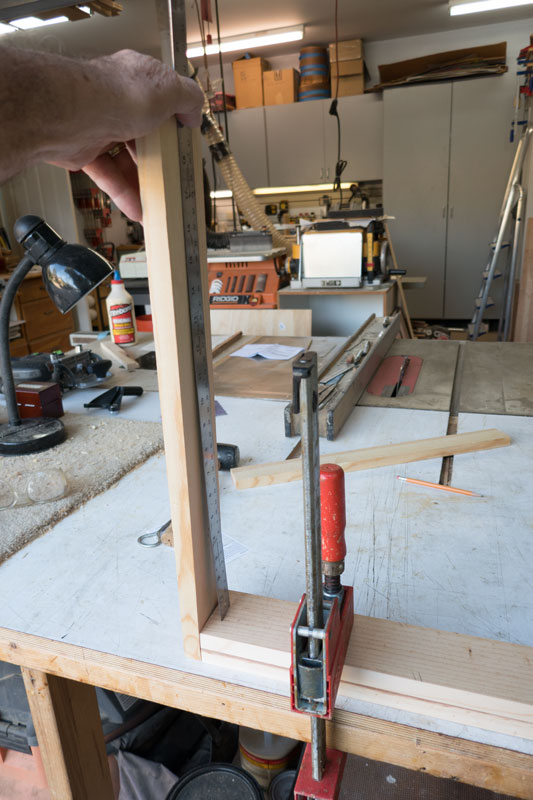
Mark the piece standing up - the long side - at 20 1/8 inches above the two pieces lying down. This accounts for the thickness of the two short sides. Cut the long pieces on the miter saw.
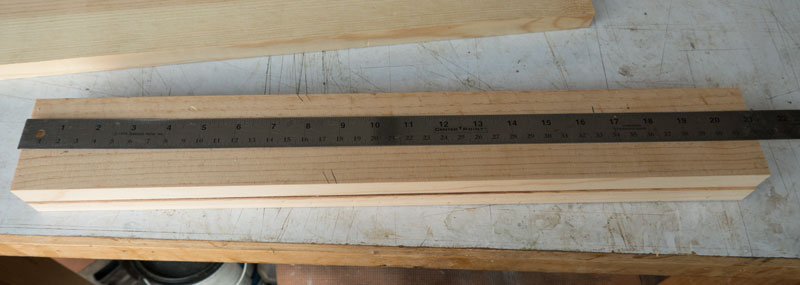
The shorter sides are easy since they fit inside the two longer pieces and we know we want that distance to be 16 1/2 inches. So all we have to do is mark the side to 16 1/2 inches.
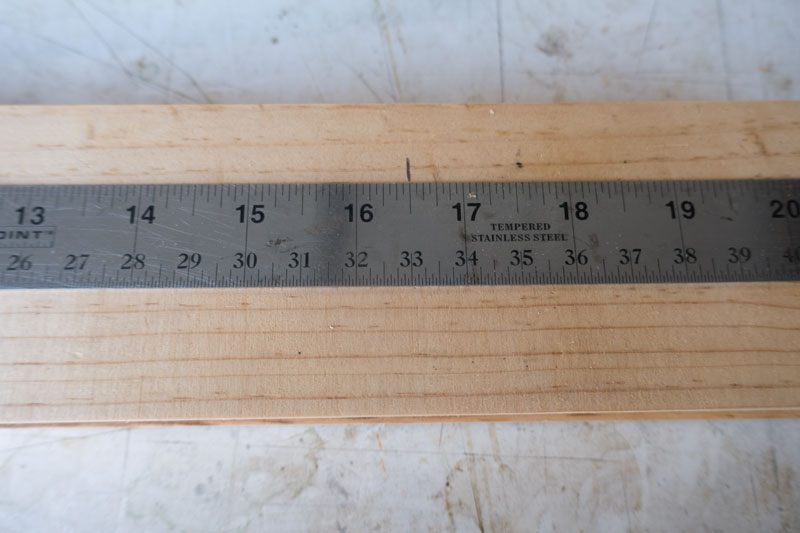
A close up.
I cut the sides on my miter saw. To make sure they're the same length, I align the two piece for the long (or short) sides and cut them together.
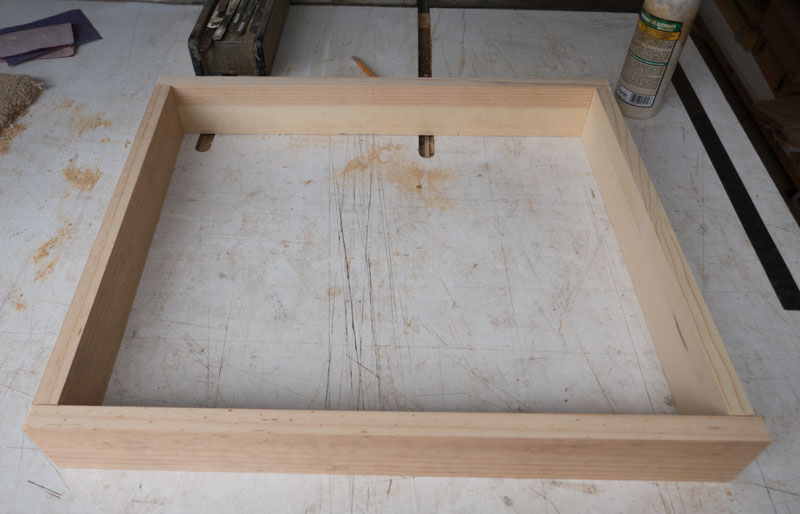
And this is what it look like after all the sides are cut. You want to make VERY sure that the opposite sides are exactly the same length.
To attach the sides together I'm going to use Dominos because I have a Festool Domino. I realize that the Domino is kind of a special tool and not everyone has one. So you can use dowels, or even screws. After all, screws are just metal dowels :-) [You could do dovetails but you'd have to cut the shorter pieces to be longer.]
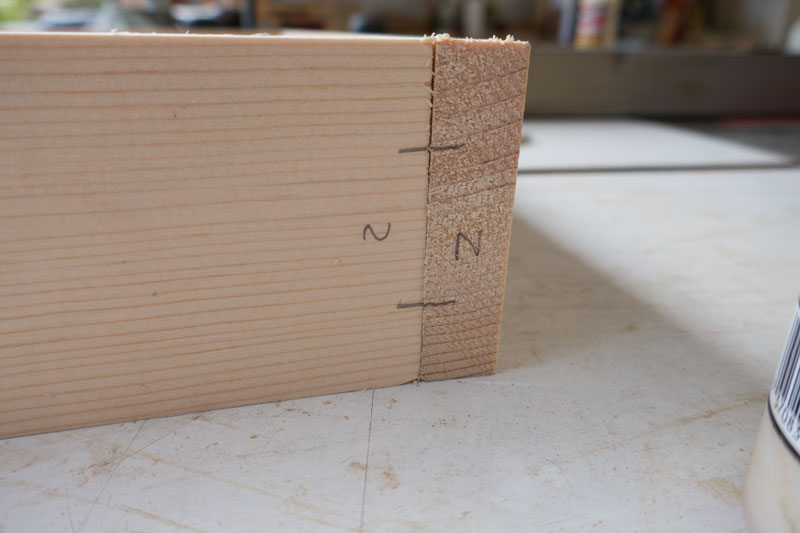
I mark each corner for the dominos. I number the corners so I can put them back together the same way they were marked.
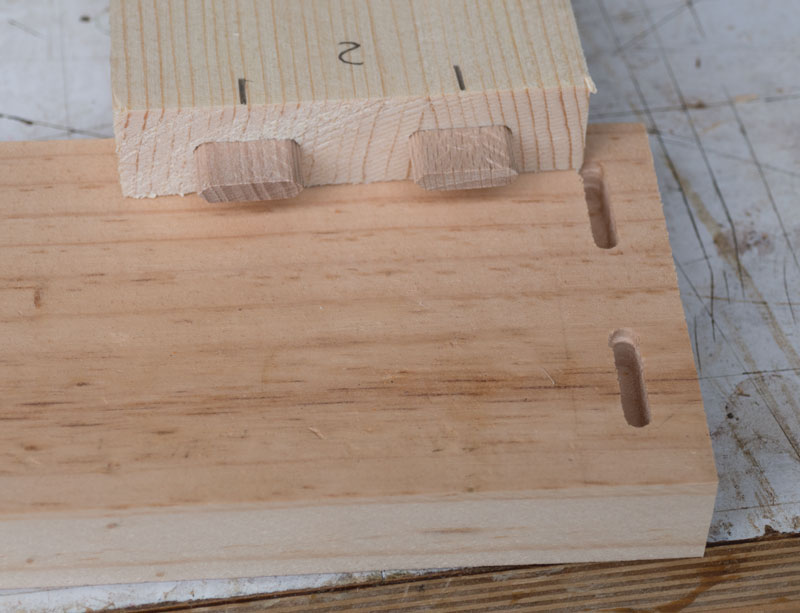
Here's an end with the Domino mortises cut and two Dominos in one piece. On one piece, I cut the mortises to be exactly the size of the Dominos. On the other piece, I cut the mortises a bit wide. This gives me some ability to adjust the fit of the two pieces.
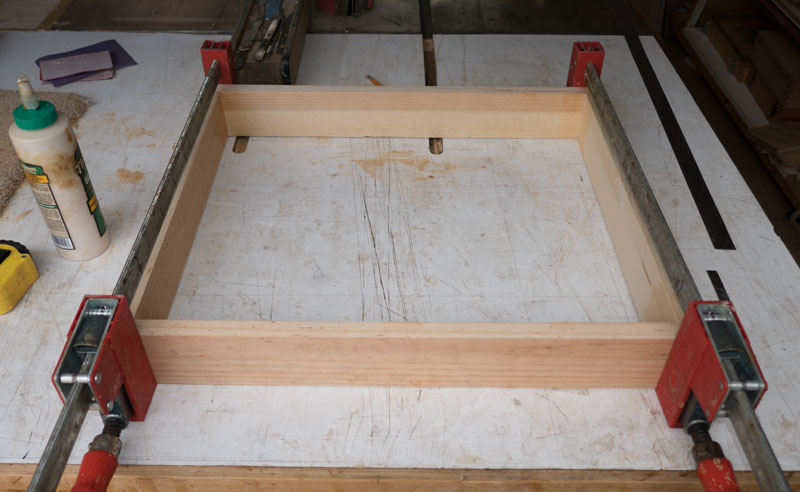
Then it's just glue up with waterproof glue. Only two clamps are required. Make sure the boards are lined up at all four corners (use a soft face hammer and tap the boards until they are flush on the corners - then put the clamps on).
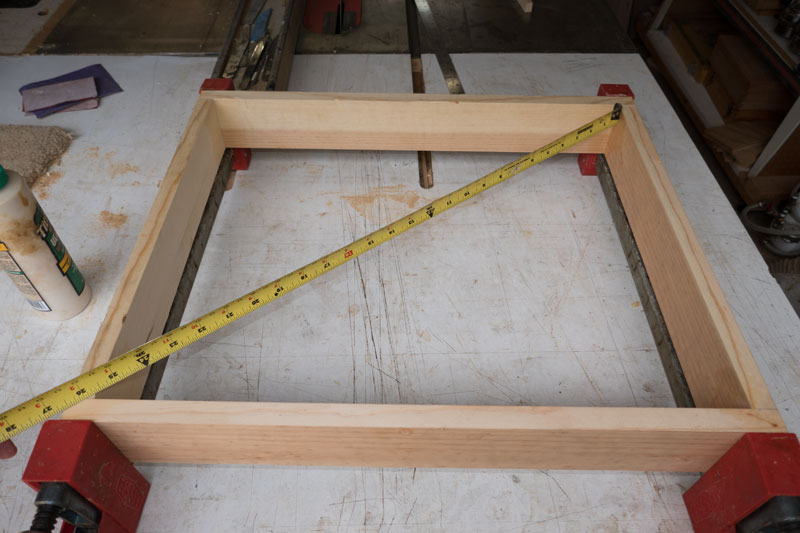
Turn the assembly over and measure corner-to-corner. The measurements should be exactly the same. If you cut the opposite sides exactly the same length, you have a "square" rectangle (each corner is 90 degrees).
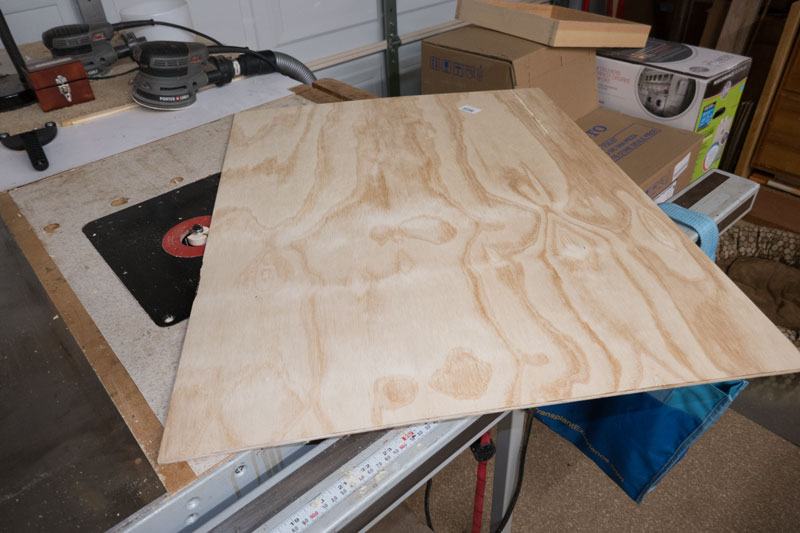
After the glue is set, it's time to put a top on the frame. I'm using 1/4 inch plywood and I'm going to set it into rabbets that I cut on the frame. You don't have to do it this way, of course. You could just glue or nail the top to the frame. But I'll show what I did.
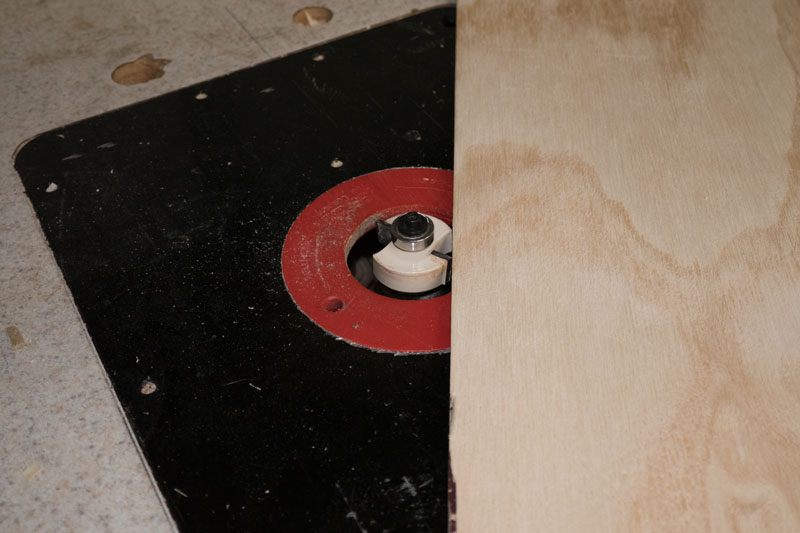
Use a rabbeting bit in your router table and put a bearing that allows it to cut 3/8 inches into the wood (half way on 3/4 inch thick material). Next, we need to adjust the height of the bit so that it cuts a rabbet which matches the thickness of the plywood. You can set the height roughly by putting the plywood next to the bit and adjusting the bit height to match the thickness of the plywood. But to get really accurate, you need to do a trial cut on some scrap and match the cut to the plywood.
Here's a close-up of the bit next to the plywood.
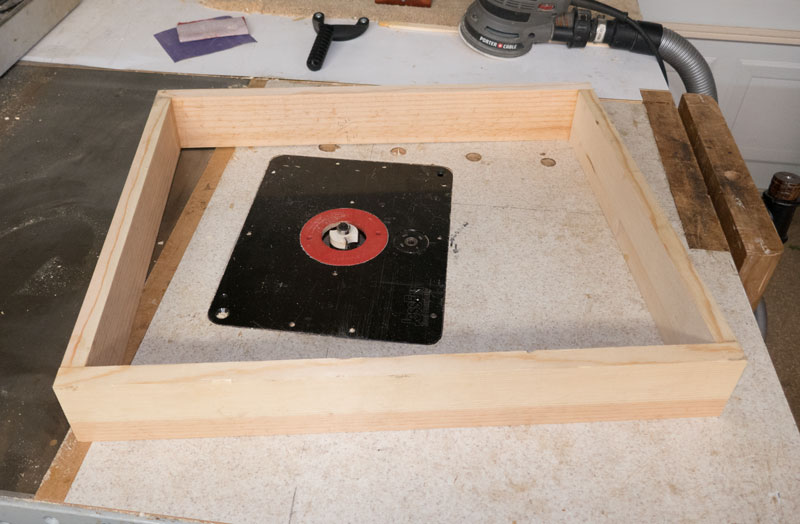
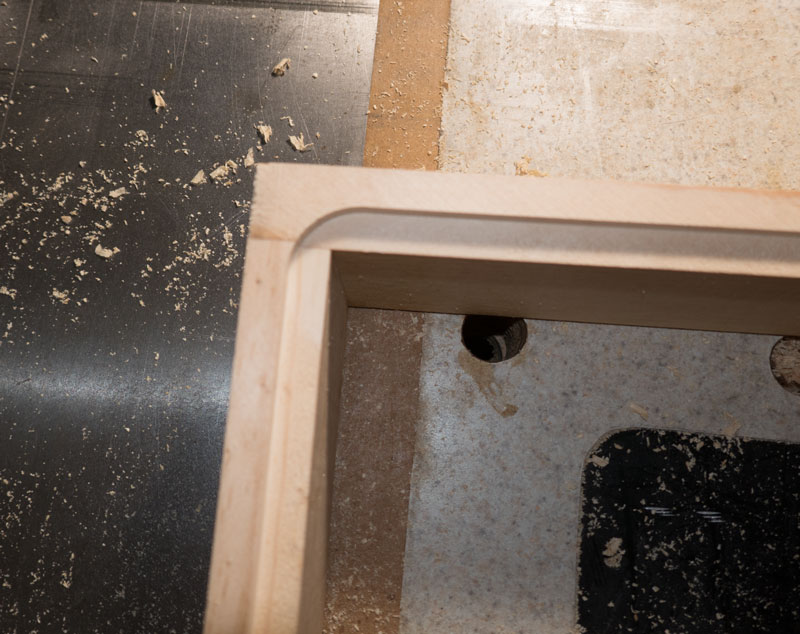
When the height is adjusted properly, put the frame over the bit. By moving the frame around the bit, you'll cut a rabbet in the frame. Make sure you're cutting "downhill" and not climb cutting.
But it will leave rounded corners.
Two choices: (1) round off the corners of the plywood, or (2) square the corners. I'm going to square the corners.
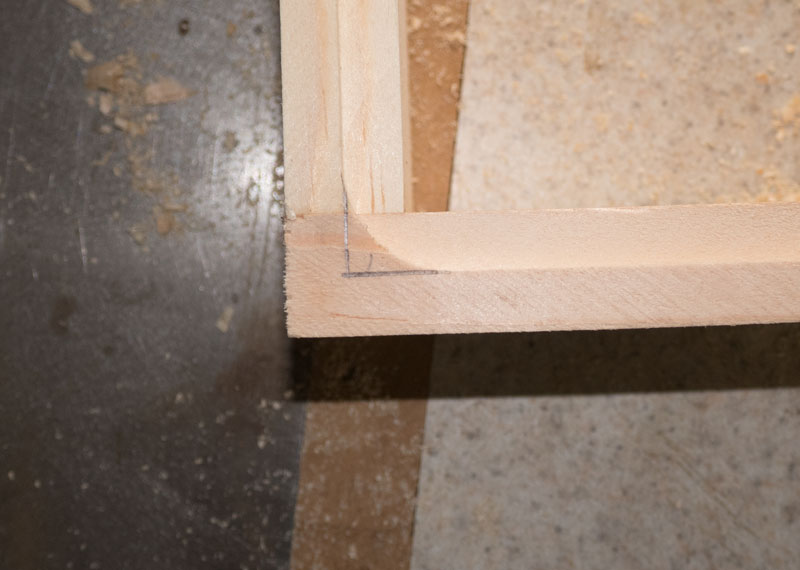
Mark what you need to trim and use a chisel to chop that out.
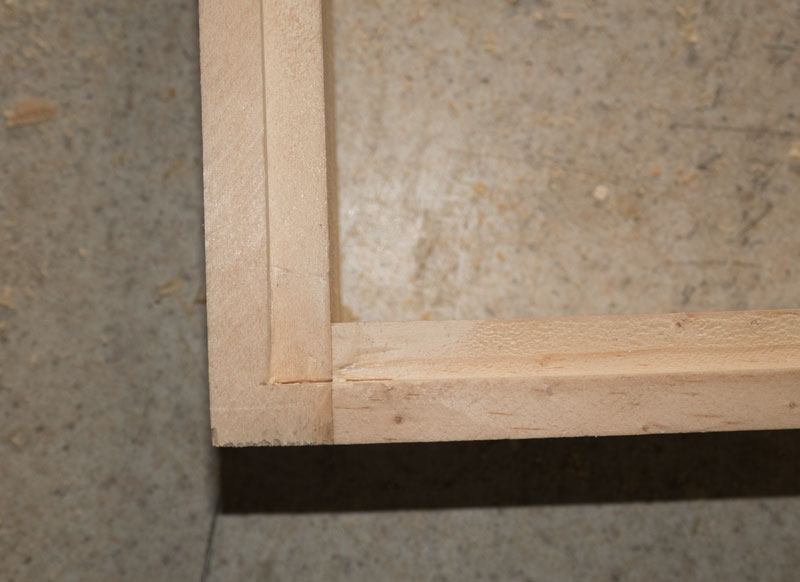
Carefully cut the plywood to size to fit into the rabbets.
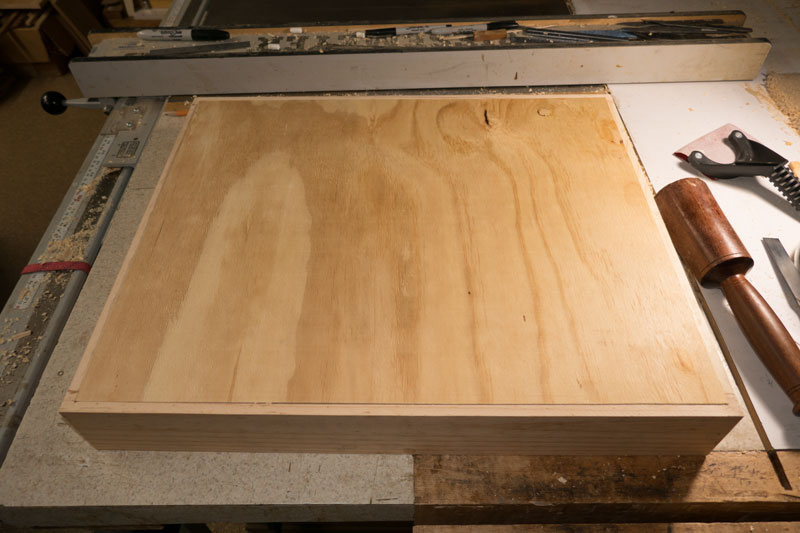
Glue the plywood into the rabbets with waterproof glue. I used cauls and lots of clamps.
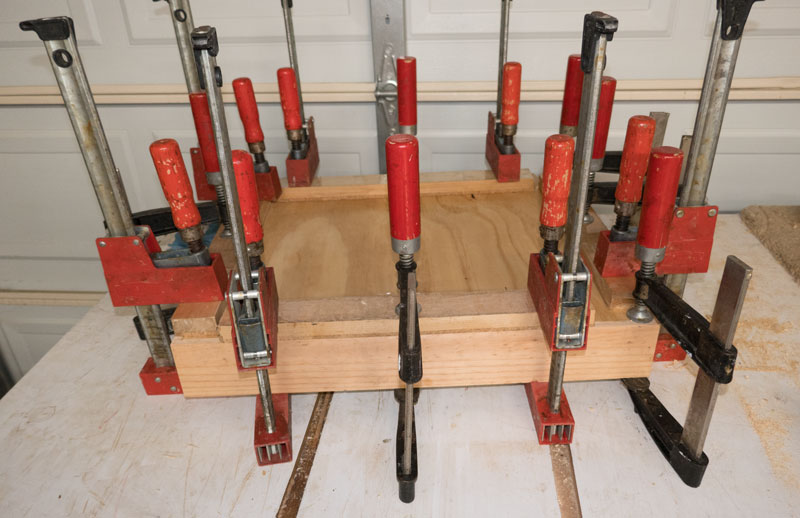
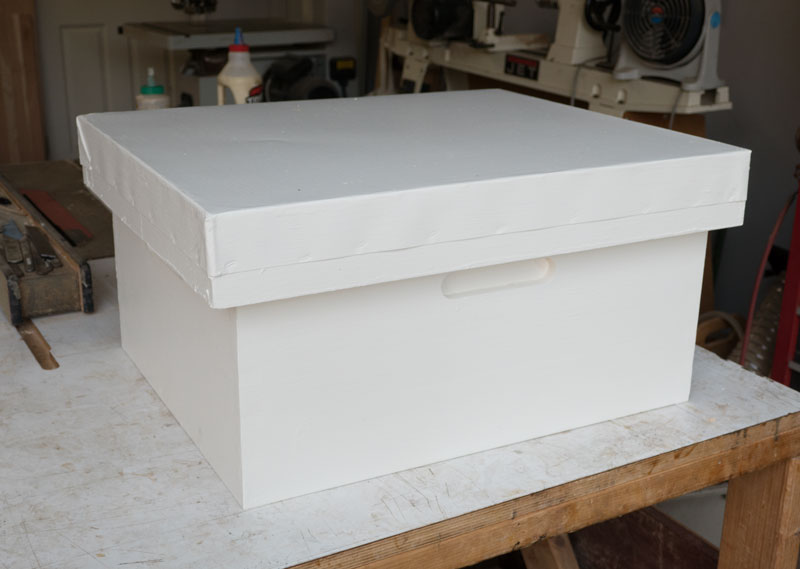
Here's the top after it comes out of clamps
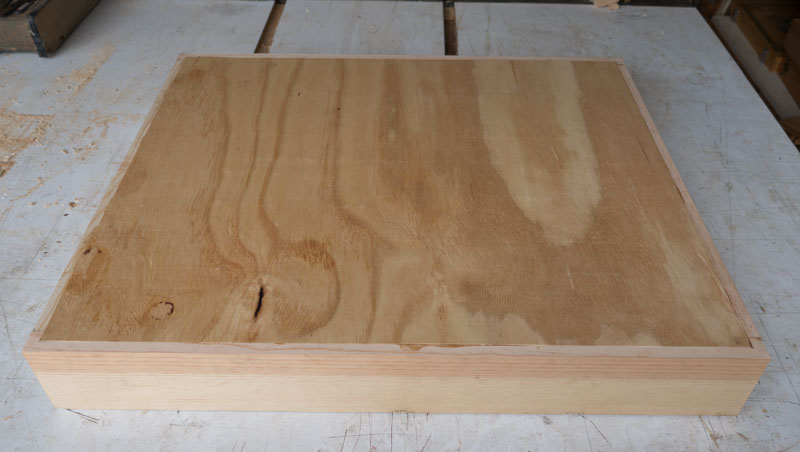
Next is to paint it with some outdoor primer.
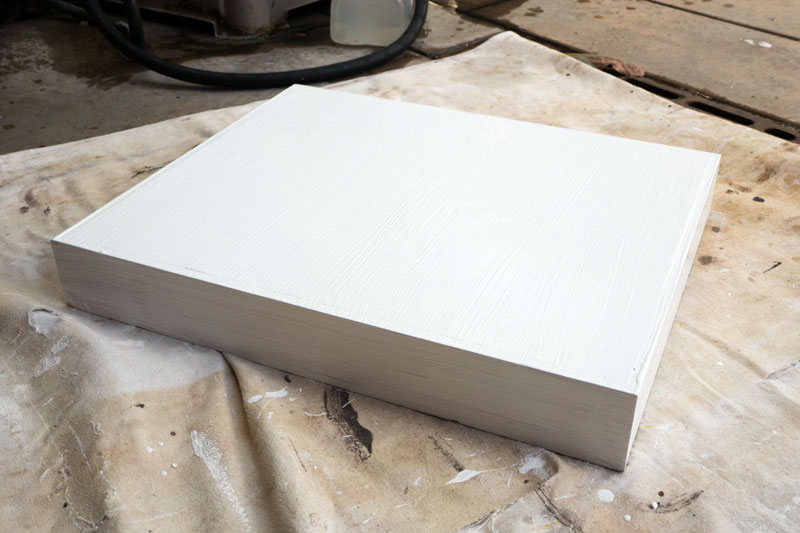
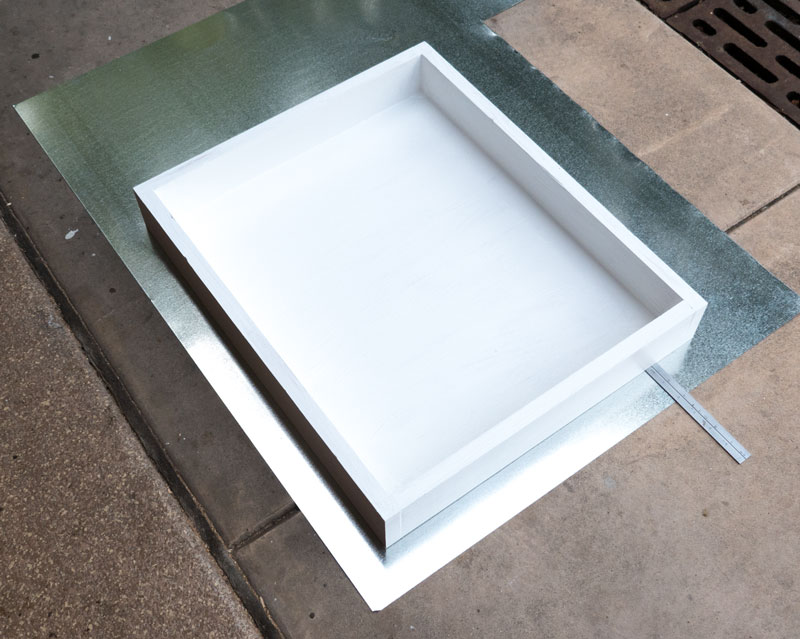
After painting it top and bottom, it's time to put the galvanized steel on the top. I buy this by the sheet at Home Depot.
Lay the top, upside down, on the galvanized metal. Adjust it until it's 2 inches from two sides. If you're building one with sides that are maybe 2 inches wide, use 1 inch or 1 1/2 inch.
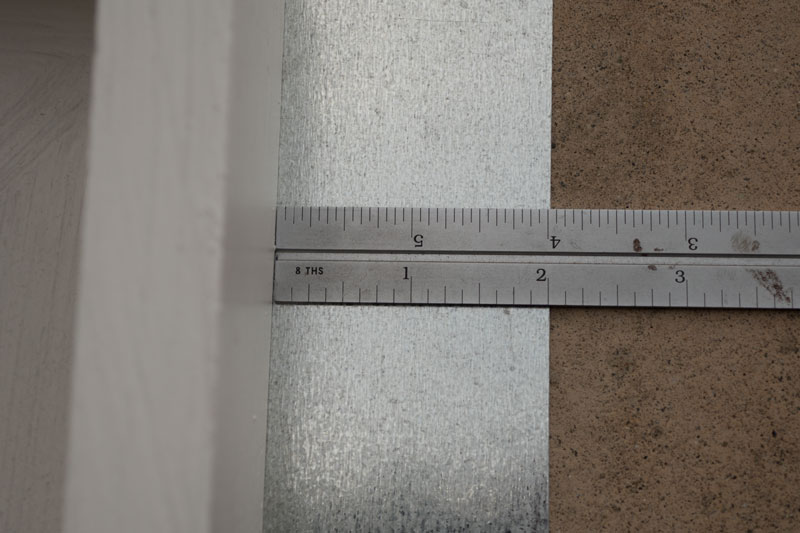
Use a felt tip marker and mark around the top. Remove the top and make two marks 2 inches away from the tracing.
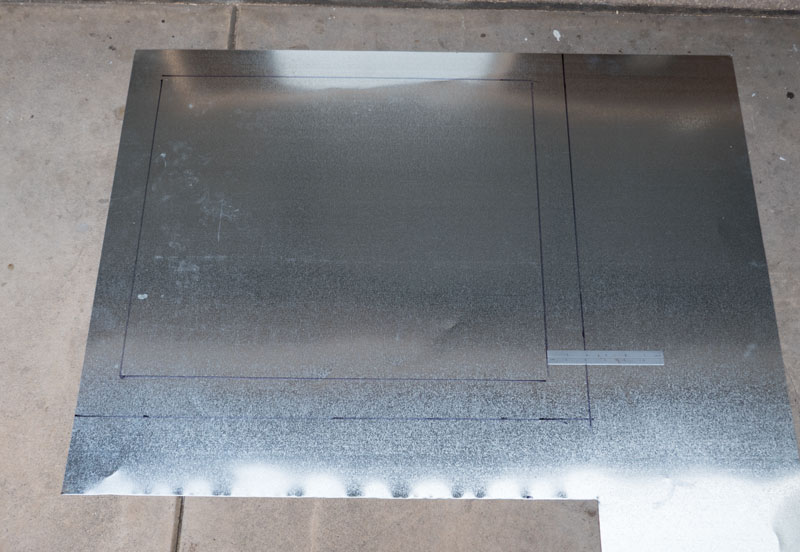
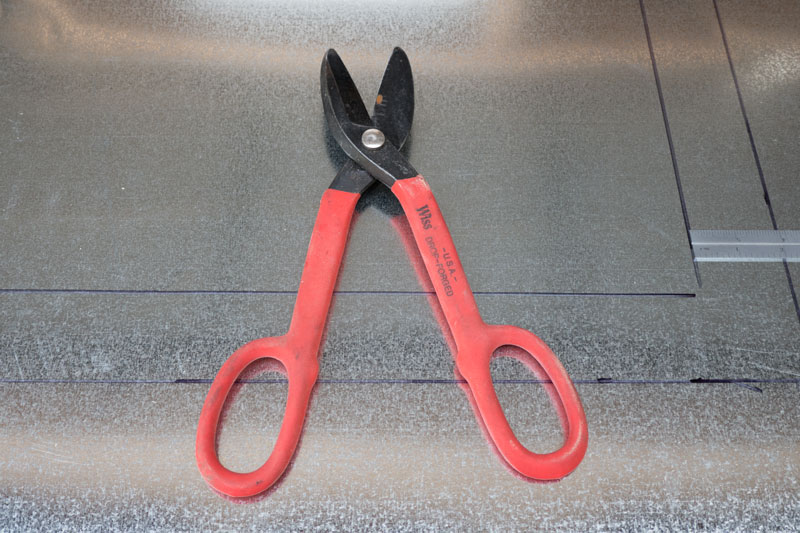
I used tin snips to cut the galvanized steel. It cuts very easily but the edges are sharp after cutting so be careful.
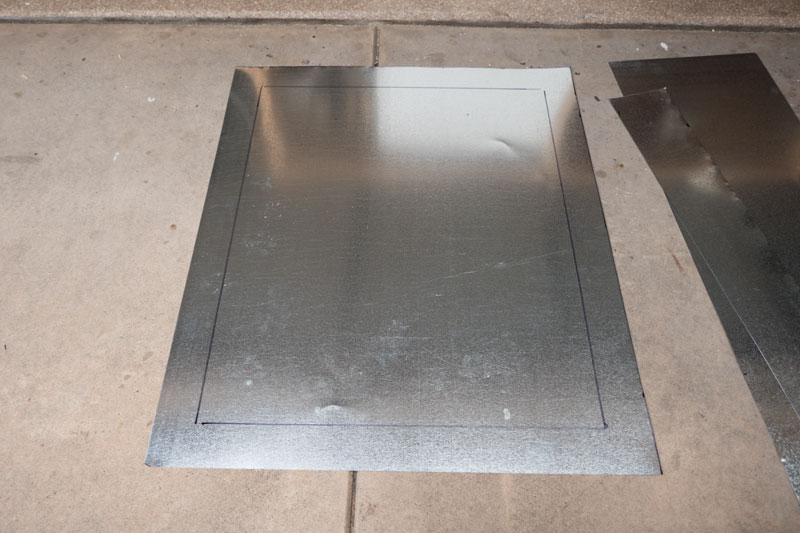
After cutting along those two lines, this is what you'll have.
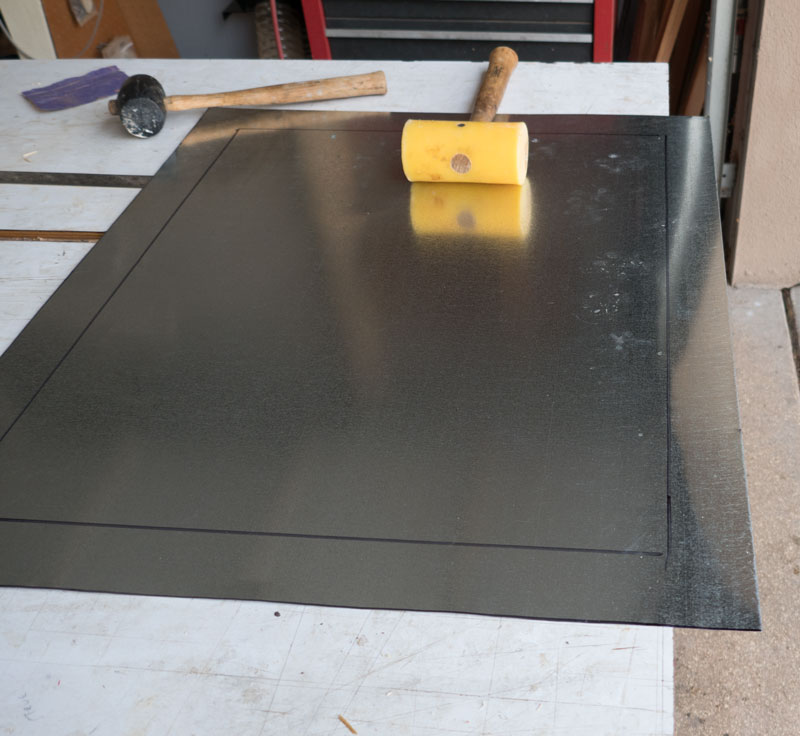
Place the metal on your bench with the line aligned with the end of the bench. Use a soft faced hammer and tap the metal down, bending it along the line.
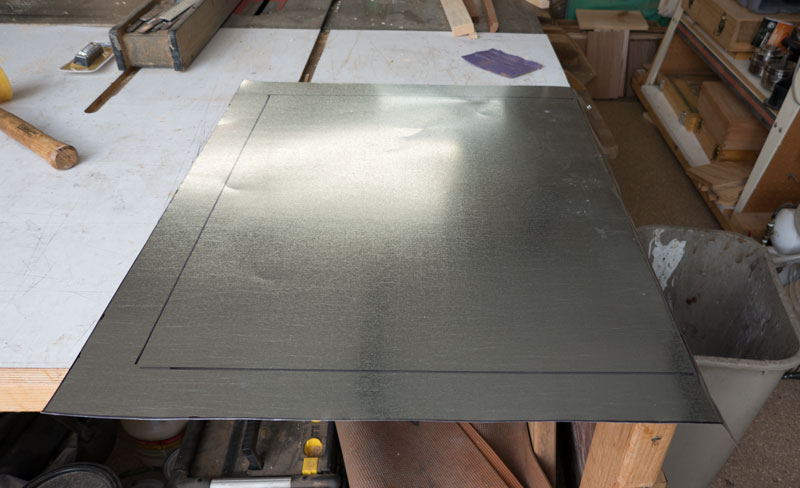
The go to the corner of your bench and place the galvanized steel with a second line aligned with the edge of the bench. Tap that side down.
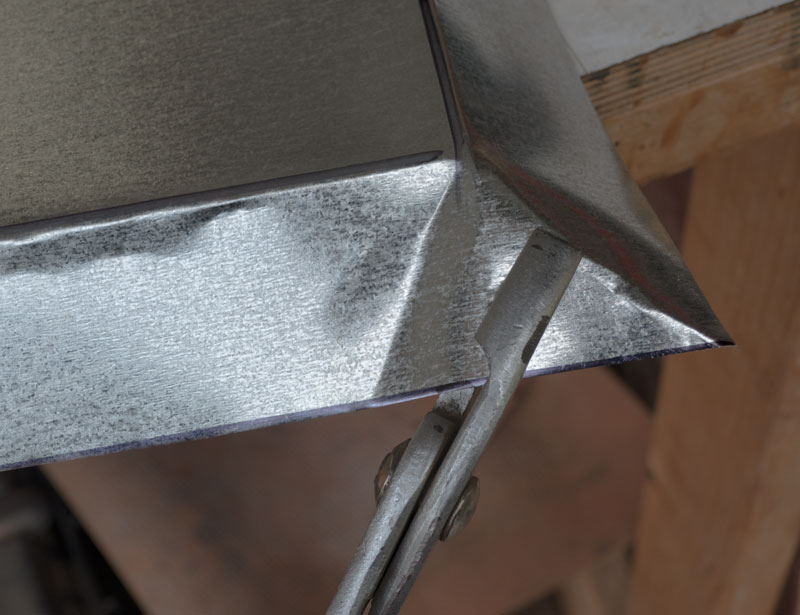
At the corner, you want to bend the metal so that you can fit it to the top. You can use a set of pliers, as shown, or just use your hands. the metal bends easily.
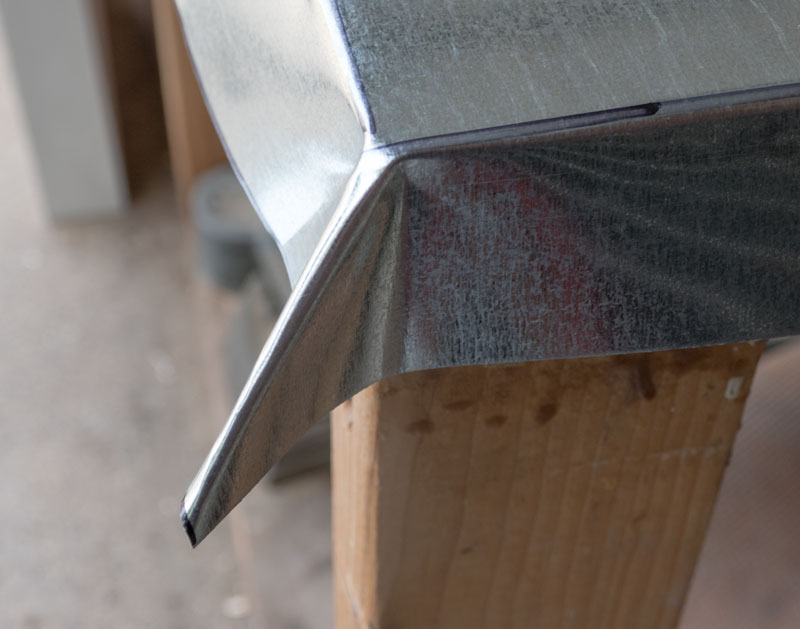
This is what it looks like on the corner. Now, you have two sides bent down and one corner folded.
Place the metal on the top with the two bent sides tight against the top.
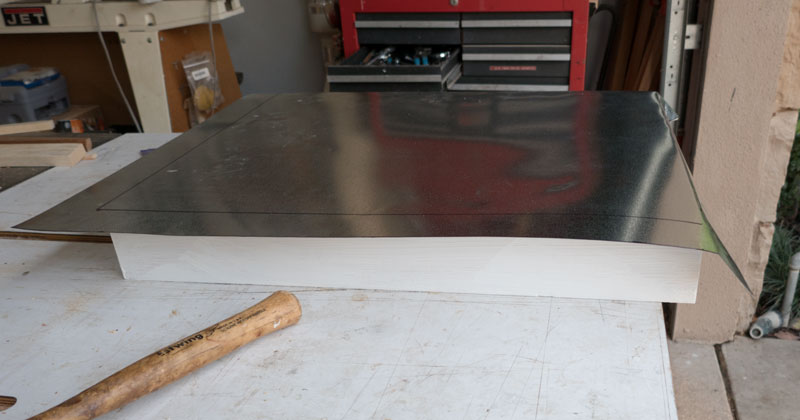
Use the soft faced hammer and bend down the other two sides, using the top to bend against. This will give you a tight fitting metal top.
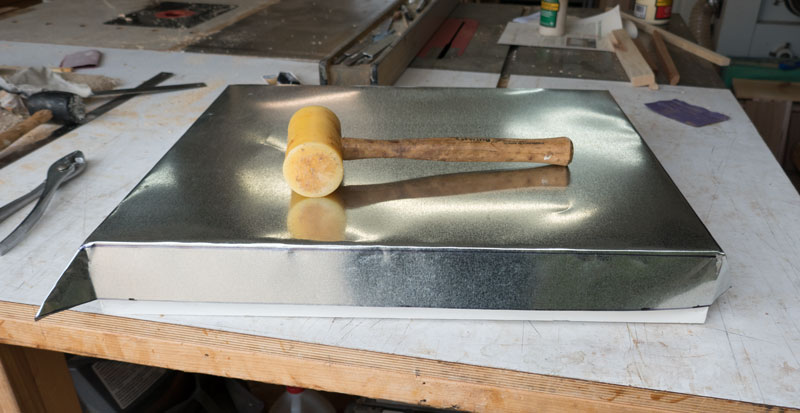
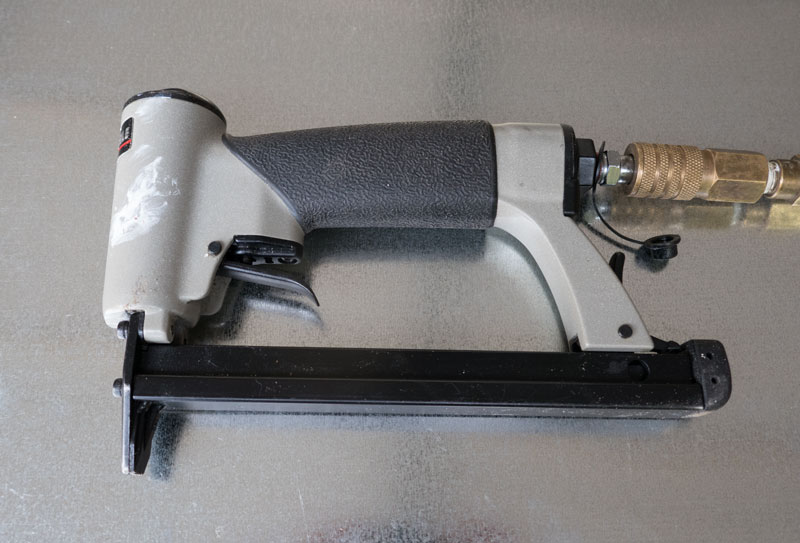
Now, to attach the metal to the wooden top. I used a upholstery stapler (because I have one). It will push staples through that metal easily.
This is what it looks like after stapling.

But the corners are not fixed down. The stapler will not push a staple through three "sheets" of metal so I have to put a screw in each corner to hold the corners in place

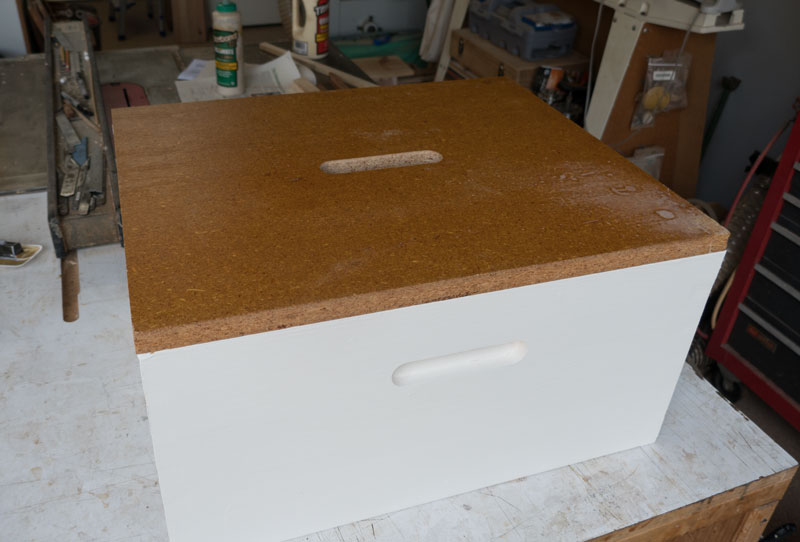
And that's about it. I painted the metal with primer and then follow with some outdoor paint. Before I can use the top, I have to make an interior cover. I used some scrap wood that I had in the shop and put a hand hold in the middle. The reason you need an interior cover is that the bees will glue down whatever cover you put on the hive. If you don't put an interior cover on, they will glue down the telescoping cover. They'll glue down the interior cover but you can get your hive tool in the space between the interior top and the box and pry it off. There's nothing to pry against with the telescoping cover so you'd have a hard time removing it.
+++++++++++++
[Update 12/30/2017] Note that I didn't paint the interior covers that I made. Big mistake. A lot of moisture settles on the interior cover and it caused some damage to the interior covers. I went into the hive today, found the problem and took the interior covers and telescoping covers off the hives and put the migratory covers on temporarily. I'll clean up the interior covers and paint them. Pictures soon.
++++++++++++++
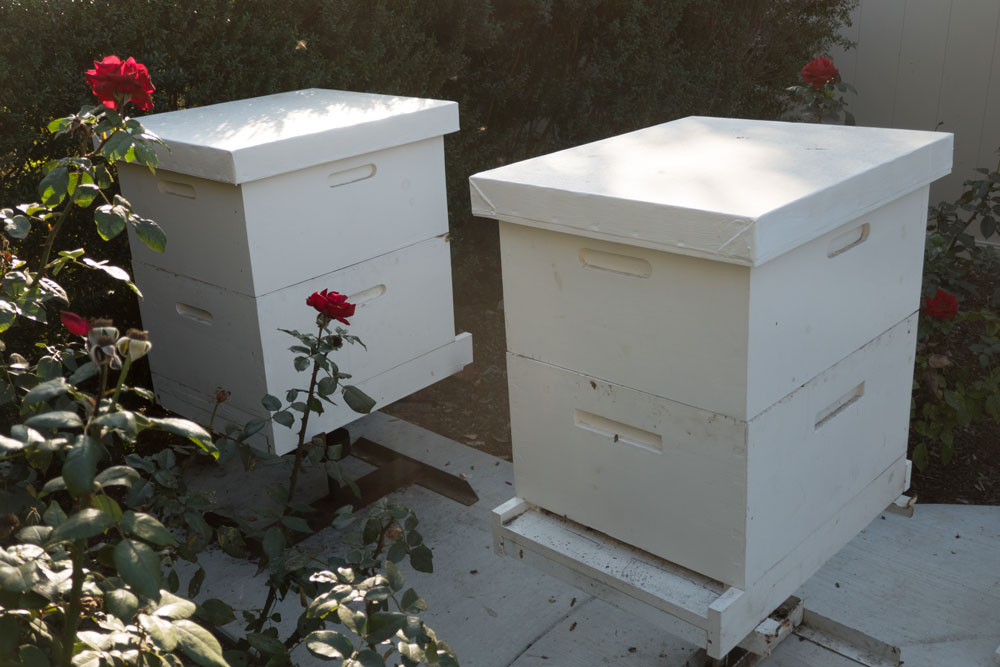
Here's the final picture - of the telescoping cover on a brood box. Looking at it, I think the three inch sides are too much. If I was to do another, I'd probably go with 2 inches.
[Update 12/11/2017] I cut the sides down to a bit over 2 inches. Just looks better. Here's a picture of the covers on two hives.
One issue with the covers is that when I remove them, I find moisture between the inner cover and the telescoping cover. The moisture is from the bees evaporating the nectar to make honey. I'm wondering if I should do anything to vent the top of the hive and let the moisture out. I'll have to research that.
[Update 12/27/2017 - I made a quilt box for each hive. Look at my posting of 12/17/2017 for what I did.]