SoCal Beekeeping
Beginning Beekeeping
Tools and Protective Equipment
P. Michael Henderson
October 14, 2020
This is the first of a series of discussions for beginning beekeepers, especially beginning beekeepers in Villa Park, CA who plan to keep wild bees.
Safety
The first thing to consider is safety, especially your safety. A certain percentage of the general population can have an adverse, perhaps fatal, reaction to bee stings. I don't know what that percentage is but some sources say it's about 5%. So before you begin keeping bees ask yourself whether you've ever been stung by a honeybee and what your reaction was to that sting. If you've only been stung one time, that one time could set you up for an adverse reaction the next time you're stung. So be careful and monitor yourself carefully the first few times you get stung. If you experience difficulty breathing, seek medical help immediately.
While you can protect yourself from stings, most of us who keep bees get stung occasionally because we don't always use protection every time. We walk over to the hive just to "check on the girls" and one of them is having a bad day and whacks us. It happens even with the mildest, most docile bees.
+++++++++++++++++++++++++++++++++++++++
This didn't fit in anywhere conveniently so I'm going to put it here. Two magazines that I'd recommend are the American Bee Journal and Bee Culture. American Bee Journal is perhaps the more scientific of the two but Bee Culture can have some interesting articles.
+++++++++++++++++++++++++++++++++++++++
I'm going to divide this series of discussions into topics. In this first discussion I'm going to talk about bee suits, gloves, hive tools, and smokers. The basics you'll need to obtain before beginning to keep bees.
In future discussions I'll talk about the components of the hive, about how to light a smoker, how to examine a hive, harvesting honey and extracting it, how to capture a swarm and install it in a hive, and maybe about how to do a cutout. I'll probably talk about the biology of bees somewhere along the way, but you can get that from books that I'll recommend to you.
But let's get started with this topic.
Bee Suits
I've bought my bee suits from Mann Lake and one from Tractor Supply. There are many companies who sell beekeeping supplies and I'm sure you can get good equipment from most of them. Dadant & Sons is well known in the industry and is recommended, although I've not bought a lot from them.
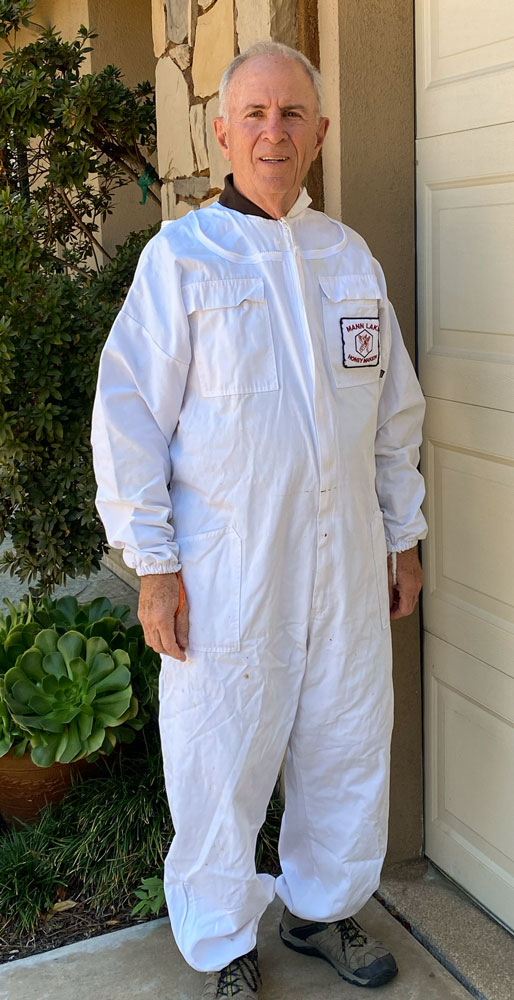
The basic bee suit is made from cotton fabric and has an attached hood veil. The two major types of veils are the "fencer" style and the round style. My suits are mostly all fencer style veils but I've started using round veils because they give me a bit better vision all around.
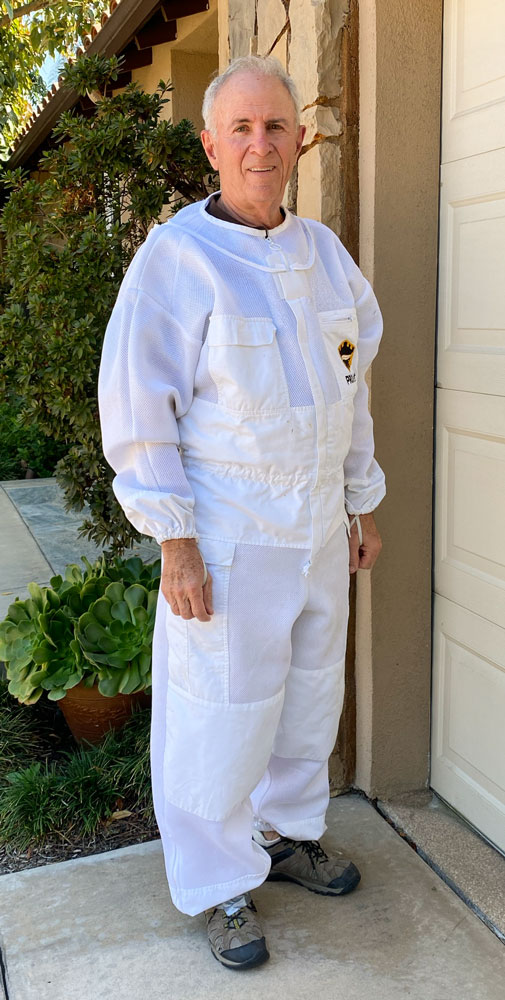
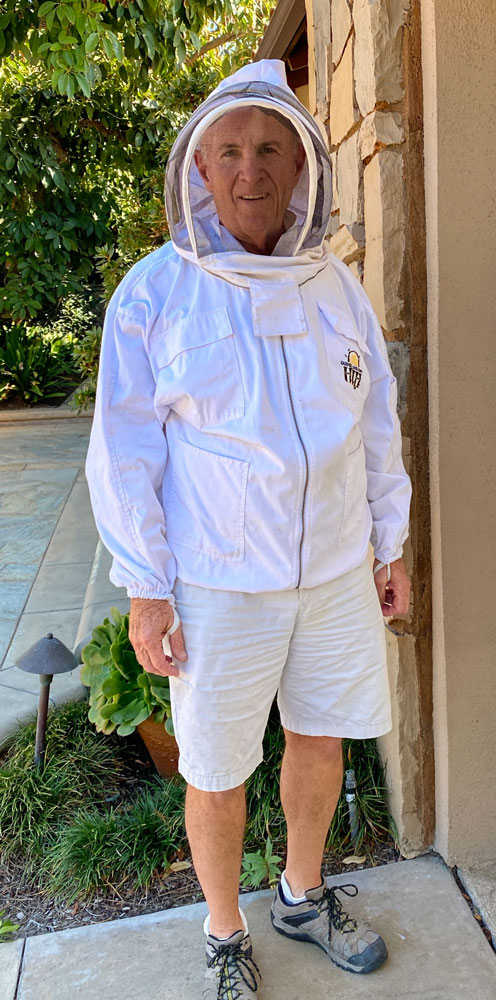
Here's a picture of me in a basic bee suit. A good quality basic bee suit will run you about $150. There are less expensive ones but I have no experience with them.
Choosing a size for the bee suit can be tricky. I prefer a loose fitting suit - it's bit cooler and you're less likely to get a sting through the suit. I'm 5'10" and I use a large suit.
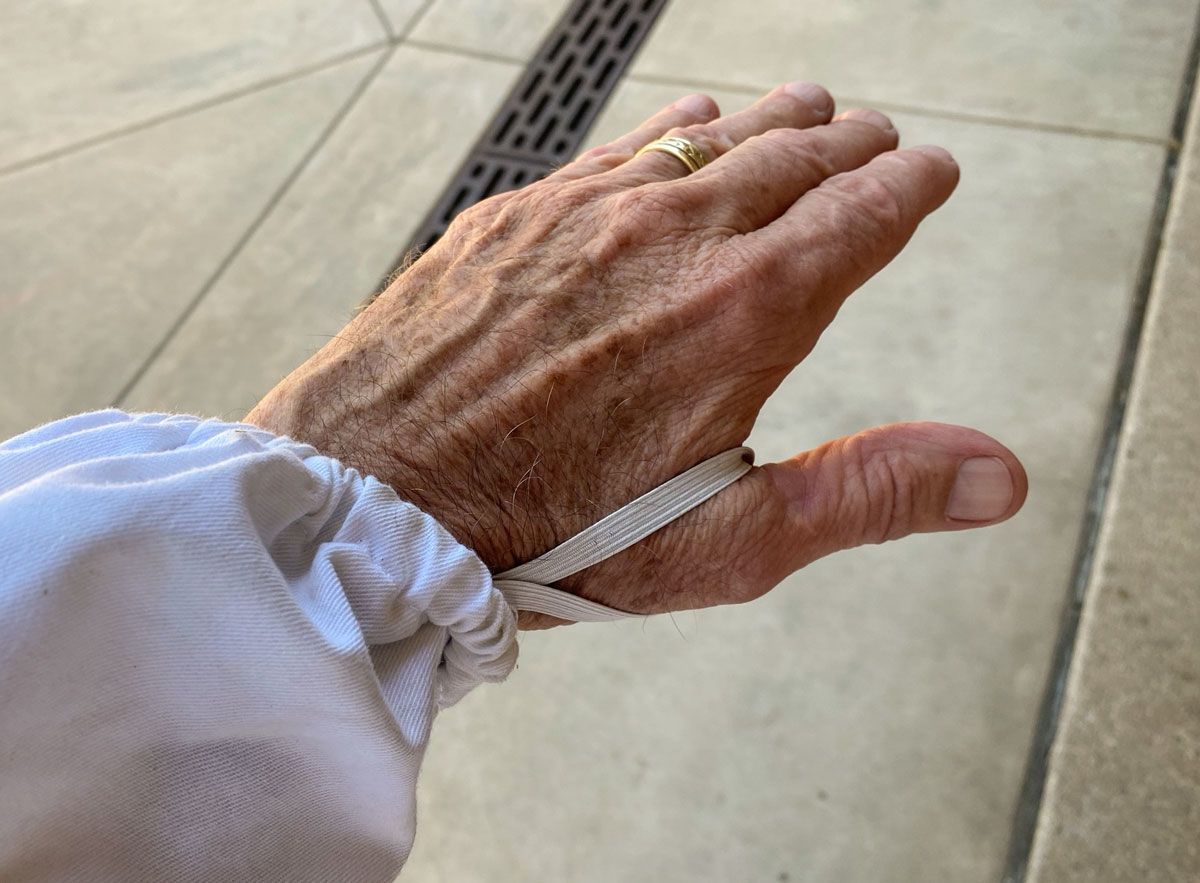
Putting a bee suit on is straightforward. One unusual thing is the loop at the end of each sleeve. Hook the loop over your thumb. It's purpose is to hold the sleeve down when you put on your gloves.
There's a zipper on each leg of the suit. When they're unzipped you can easily put the suit on over your shoes, and when zipped, the suit leg is tight to your leg. Some beekeepers wear boots to protect their ankles. I wear regular shoes and use duct tape to tape the suit legs to my shoes if I expect to encounter aggressive bees.
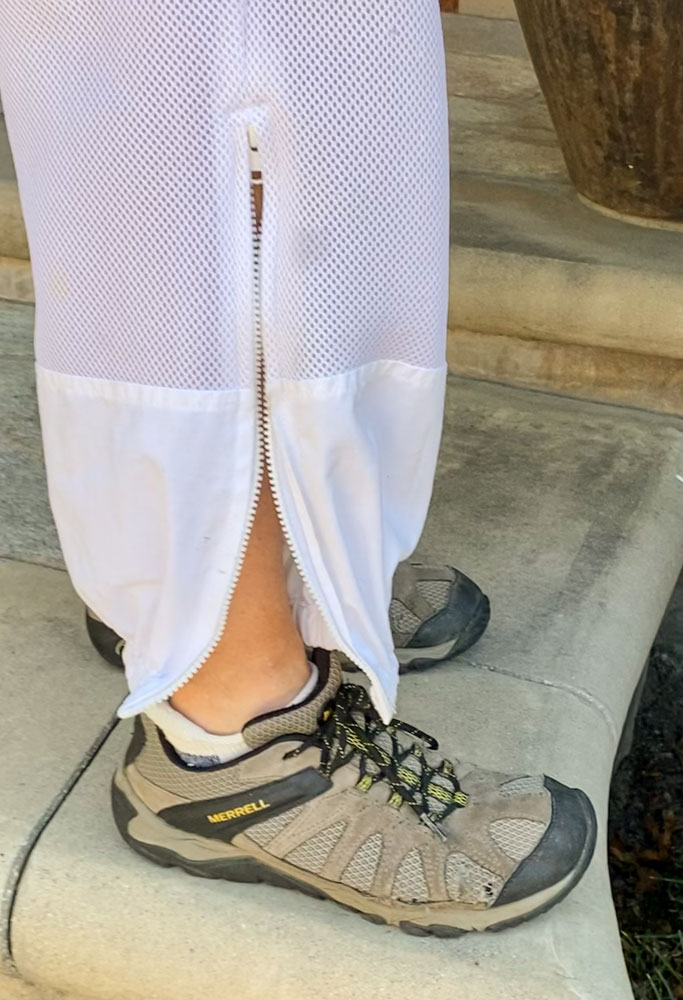
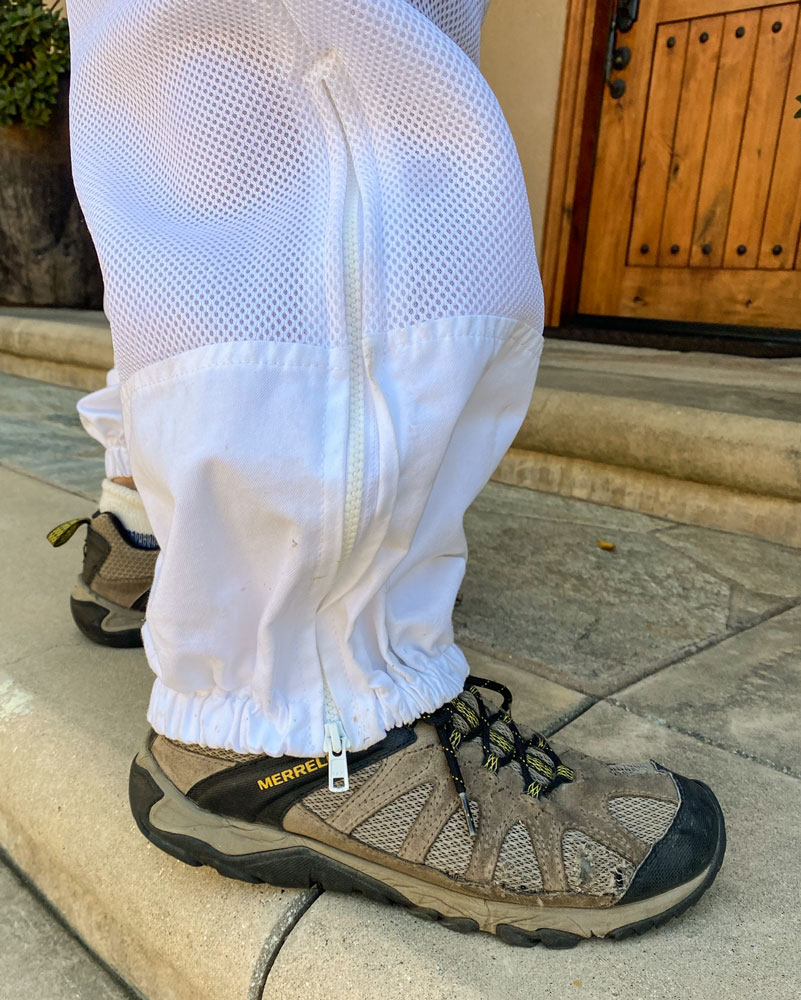

Normally, the bees will not go after your legs. They tend to go for your face so a veil is very important.
Note that most bee suits are white. The animals that attack bee hives in the wild are mostly black (such as bears) and the bees will attack a black item much more readily than a white item. While you can purchase bee suits in various colors I'd recommend sticking with white because of that.
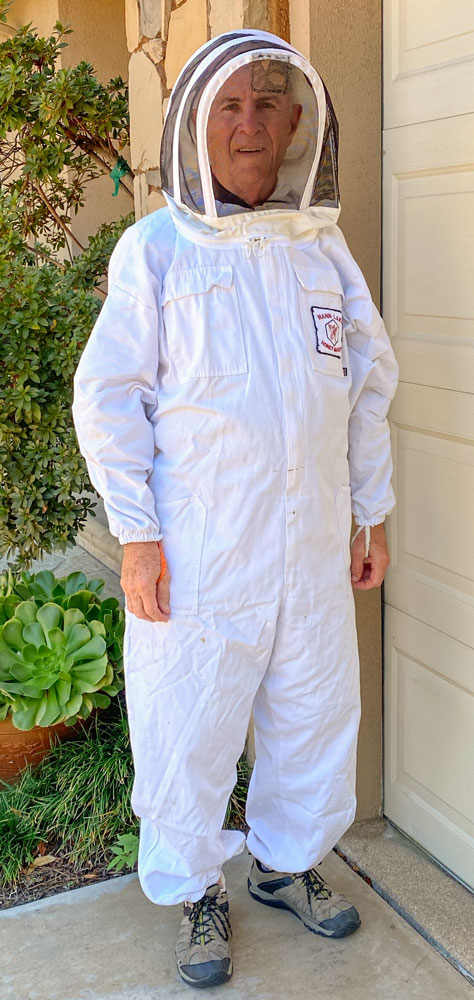
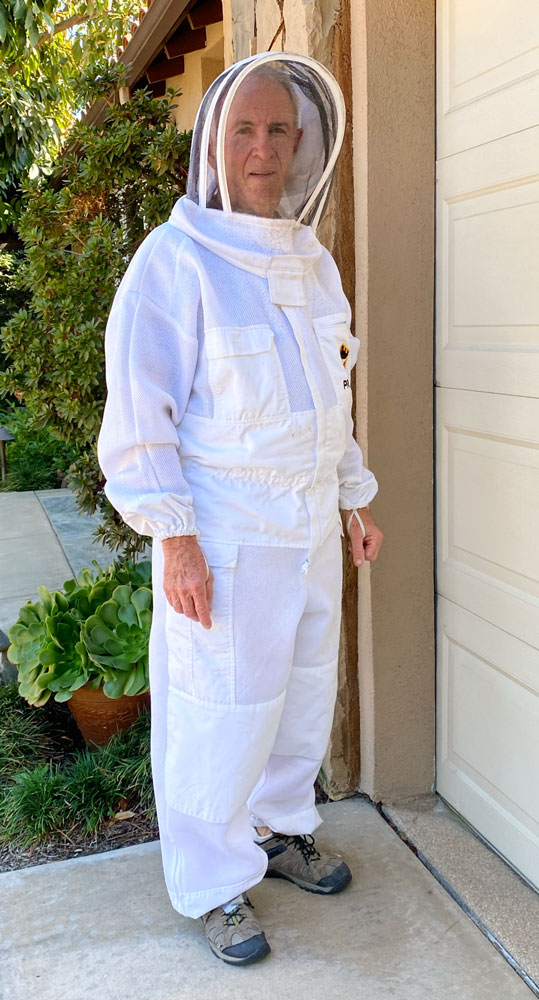
After using a basic bee suit for a while, I purchased a ventilated suit - about $175 at Mann Lake. You'll be going into your hive mostly in the warmer months and that bee suit gets hot. The manufacturers have developed ventilated bee suits which are supposed to keep you cooler. I bought one and, while it's a bit cooler, it's still hot.
Here's a picture of me in my ventilated bee suit, with and without the veil. The ventilated suit is made of multiple layers of cloth with holes in each layer so the suit is thicker than the single layer basic suit. If you were to have problems with bees stinging you through the basic suit (I've not had that) the ventilated suit will provide additional protection.
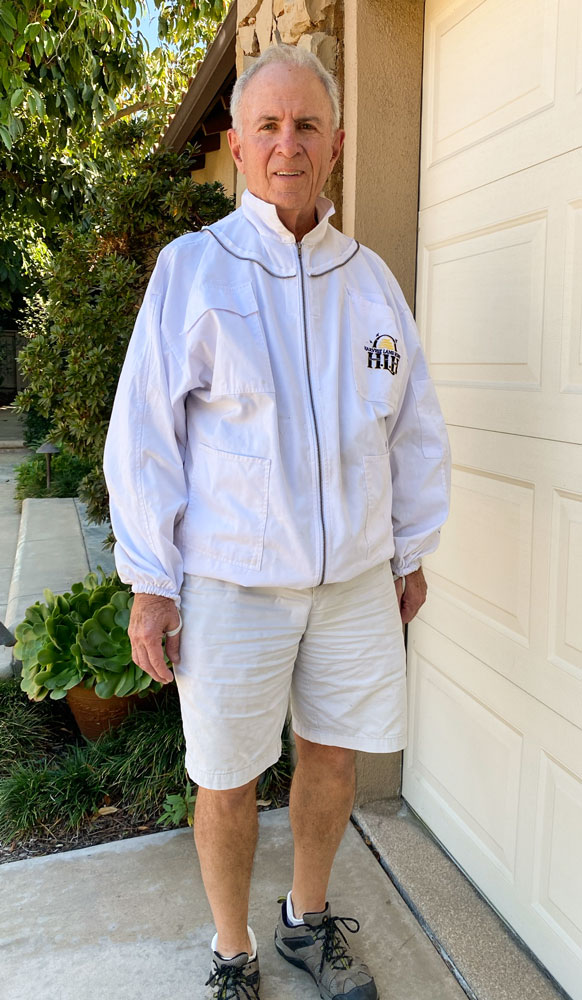
The last kind of "suit" I'm going to talk about is the jacket. It's a bit less expensive than a full suit. You can wear long pants, such as loose fitting jeans, and put this on to protect your upper body. I use this when I'm working a hive that I know is very docile, especially if I'm not going to go deep into the hive. Here are two pictures, with and without the veil.
Judy bought this jacket for me at Tractor Supply in Norco for about $57.
One final note about bee suits: you can wash them - just remove the veil before you put them in the washer. I don't know why but it seems like my suits get dirty fairly easily even though it seems like I'm only standing next to a hive. I don't like a dirty suit - just looks bad to me - so I wash fairly often. I occasionally see a beekeeper with an extremely dirty suit. I don't know if they don't know that the suit can be washed, or if they don't care, or if they think that wearing a dirty suit shows that they are an experienced beekeeper.
The veil area of the suit can be washed by hand if it gets really dirty. I wash my suit many times before I wash the veil area.
If you want to go really cheap, I found this at a sporting goods store. It's a veil that you put over a hat and tie under your arms. You'd wear a long sleeve shirt and long pants, and make sure all the openings are closed, perhaps by using duct tape. Then use some gloves to protect your hands. The veil was about $6. It's a way to get started.

Gloves
If your bees are very docile you can work them without gloves. Here in Villa Park the wild bees are hybrids and exhibit a range of defensiveness, so having gloves is a reasonable precaution.
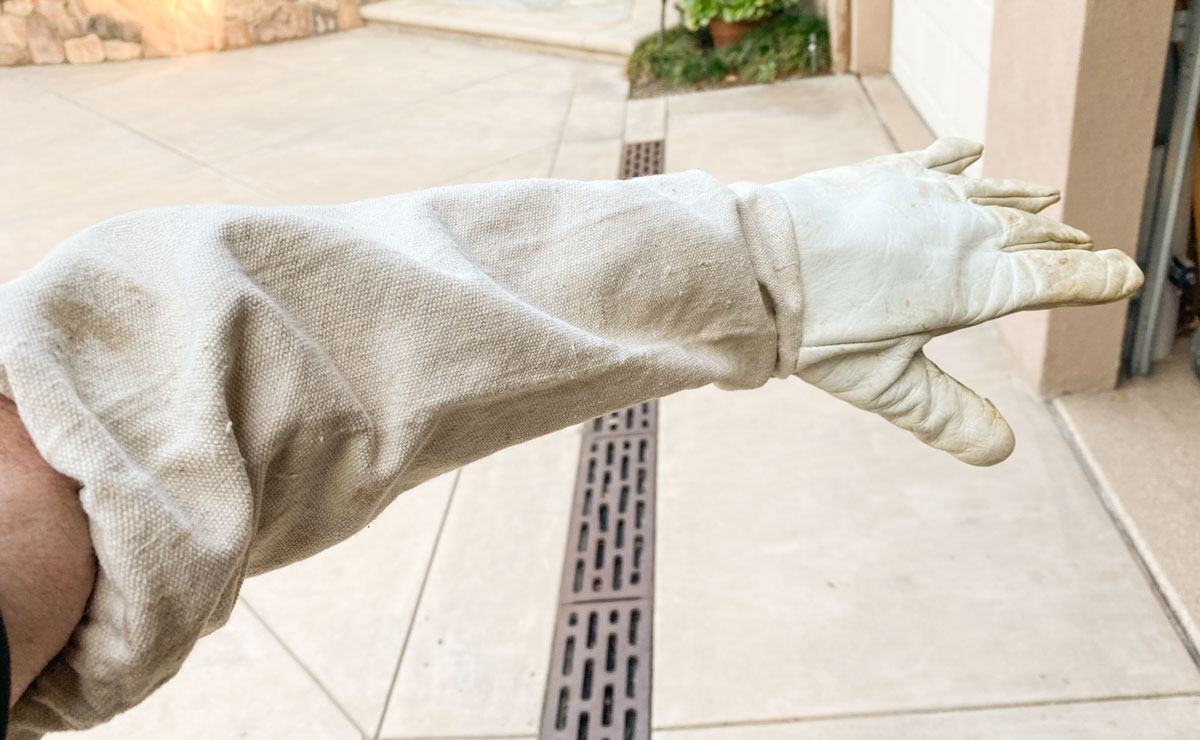
The best gloves are goatskin gloves. They provide the protection you need while also offering the ability to feel surfaces reasonably well through the gloves.
They make cowhide gloves, which cost less, but they don't give you the same ability to feel things through the gloves as well as the goatskin gloves.
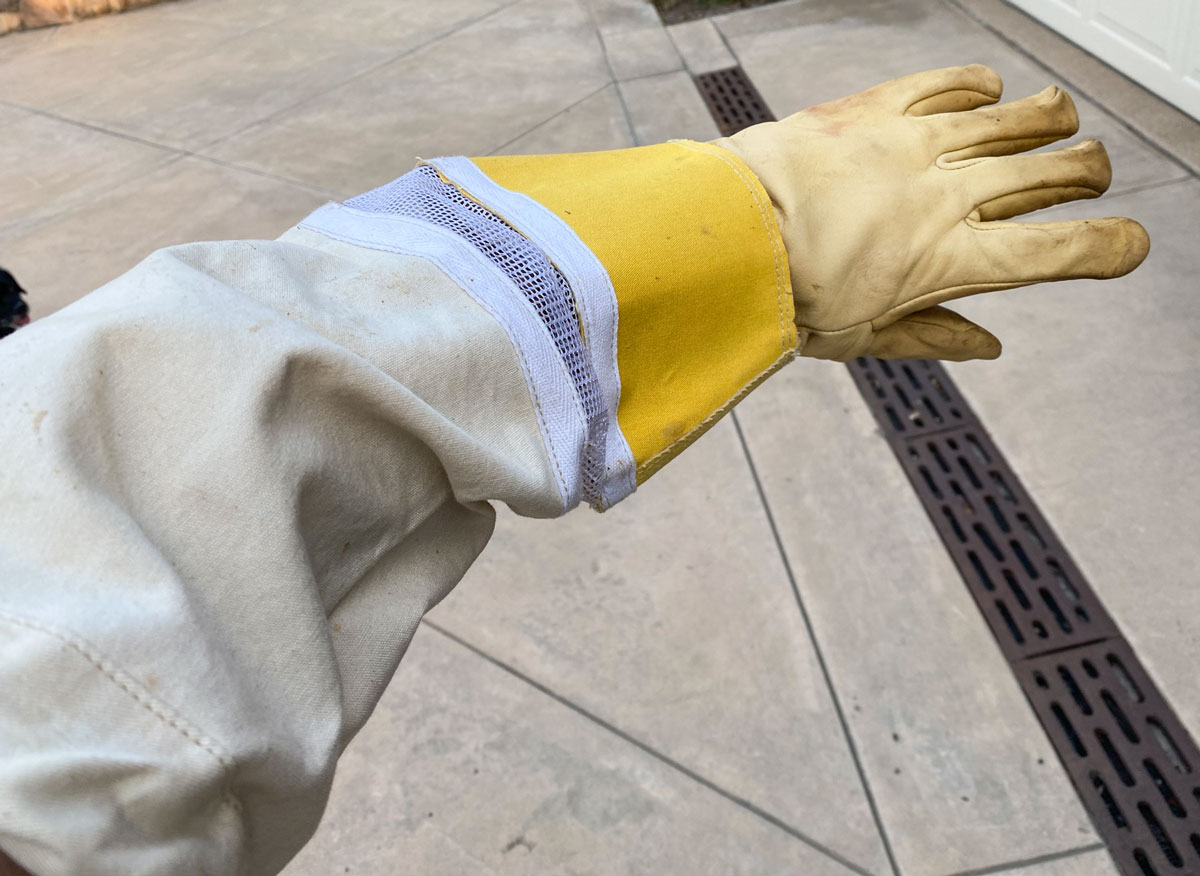
Here's a picture of a goatskin glove. I bought these at Mann Lake for about $27.
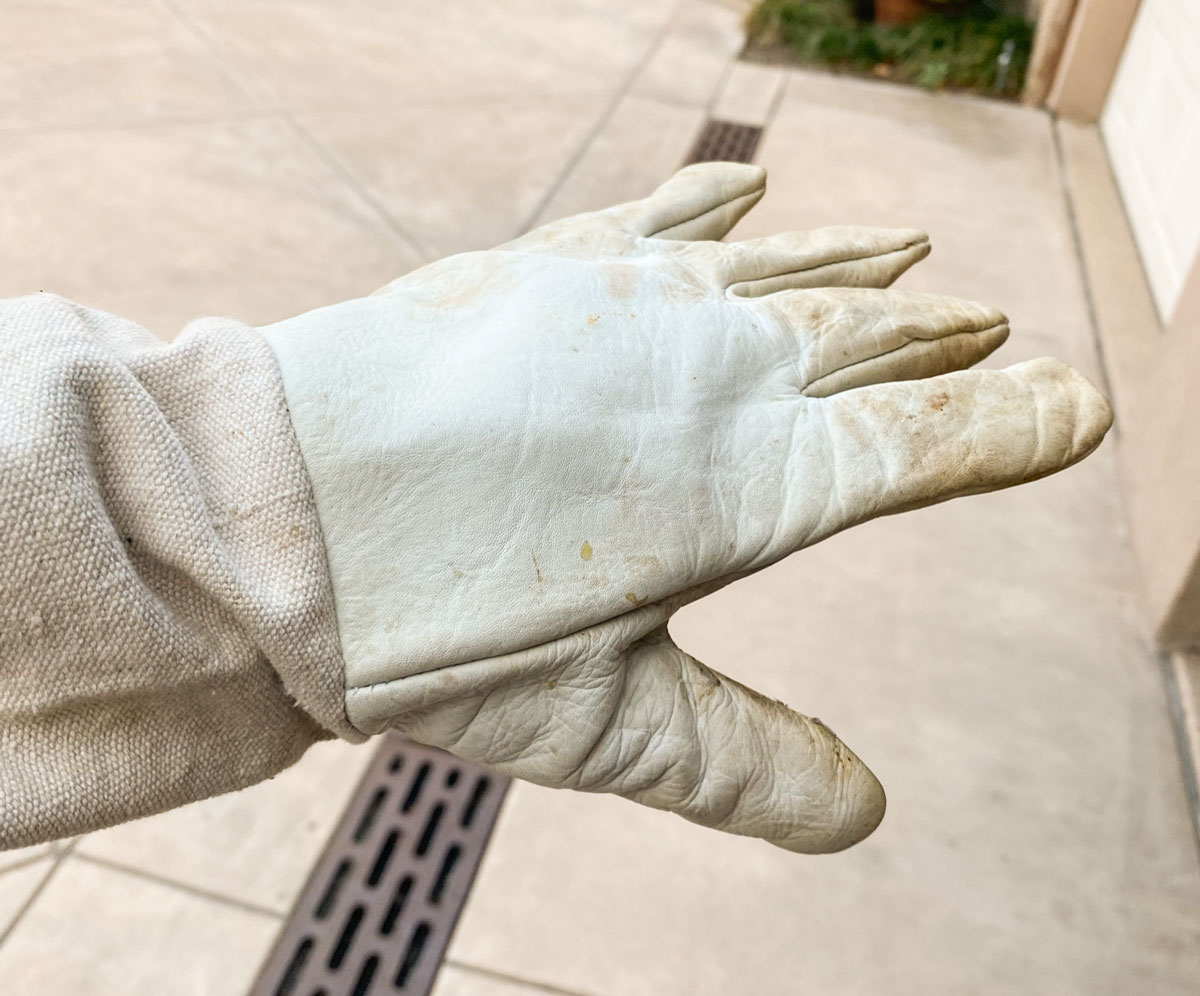
It has a long sleeve that goes up your arm, past your elbow.
The other kind of glove is the cowhide glove. They're a bit less expensive than the goatskin gloves. I think I paid about $20 for these.
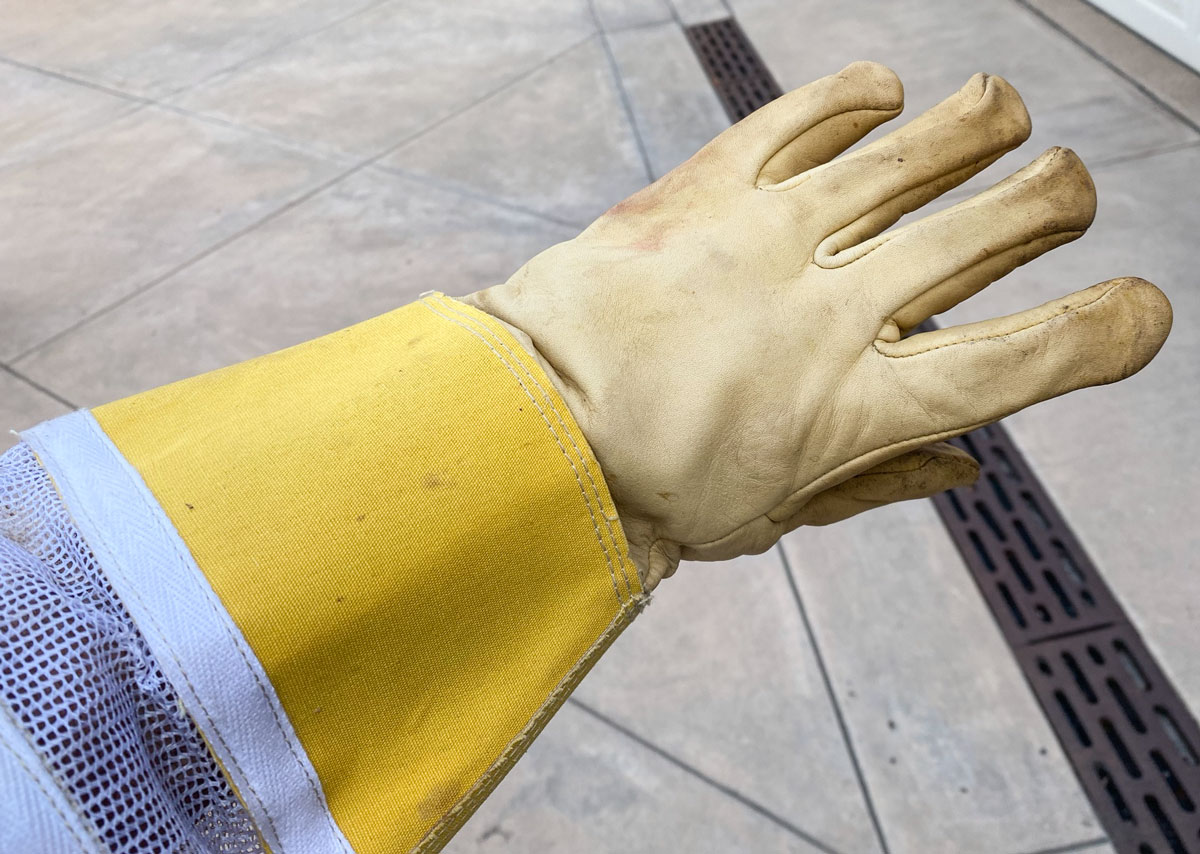
It also has a sleeve that goes up your arm, past your elbow.
Hive Tools
You don't need a lot of tools to work a hive. I have two that I use but I could get by with one. The first I'll show you is the J-tool, named because of the hook on the end. I find the hook very useful for lifting frames. The bees glue everything down in the hive so you can't just lift up a frame - you have to pry it up - and the J-hook really works for that. You can get a J-hook tool for about $12. This particular one was a bit more than that. Your tools will get coated with wax and propolis fairly quickly. I cleaned up these tools before I took the pictures.
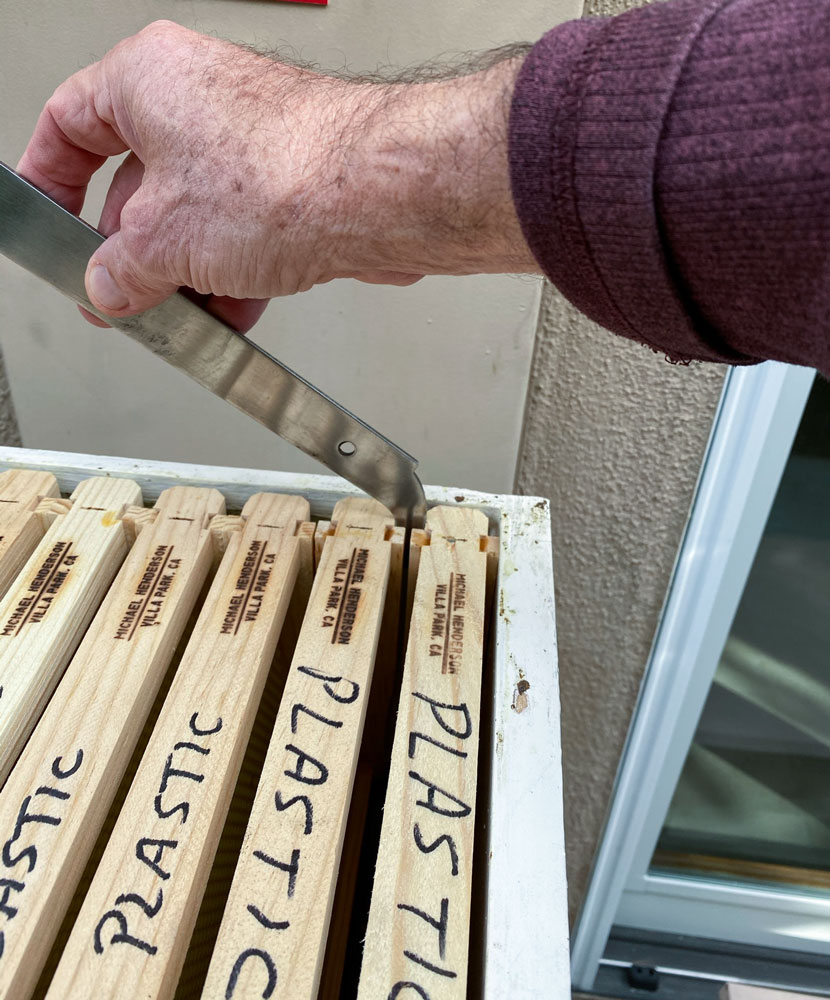
Here are a couple of pictures showing how to use the J-tool to pry a frame out of the hive. These frames are unused so it's not totally realistic but it's close. Slip the hook under the end of a frame.
And then just pry the frame up.
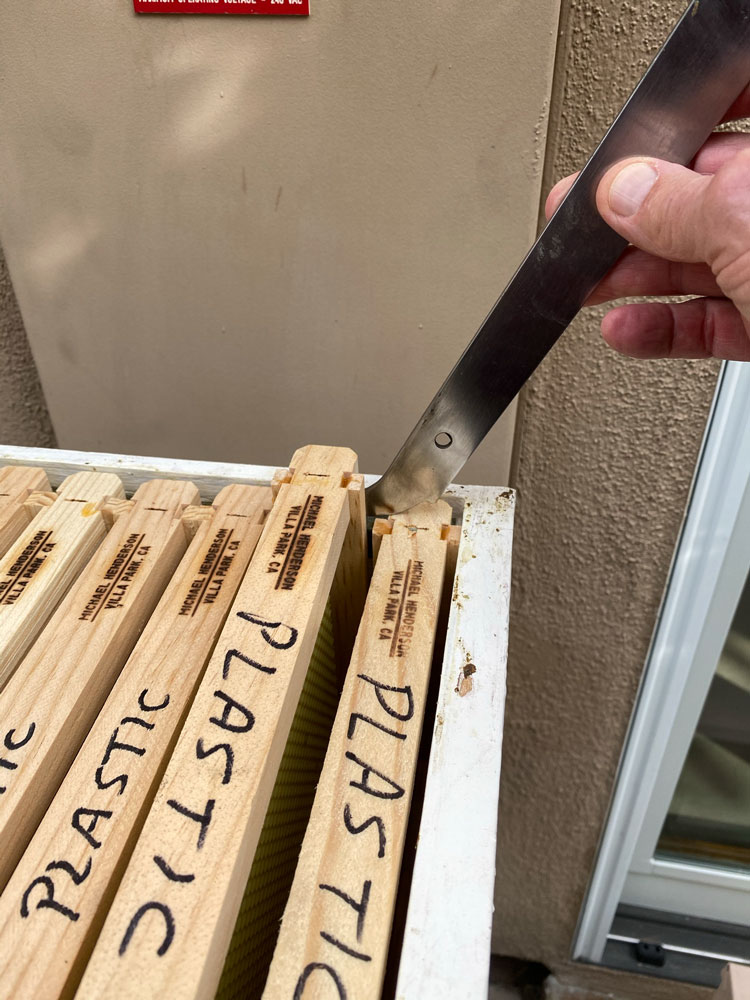
You need to do this on both sides. This will allow you to grasp the frame with your hands and pull it out of the hive. I usually hold the J-tool in one hand and use my other hand to grasp the other side of the frame. I lift the frame with the J-tool and my other hand.
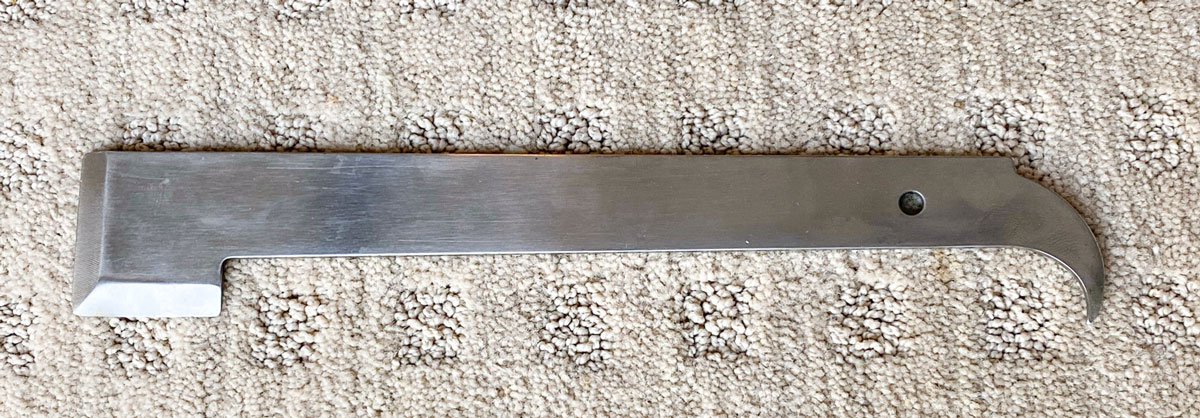
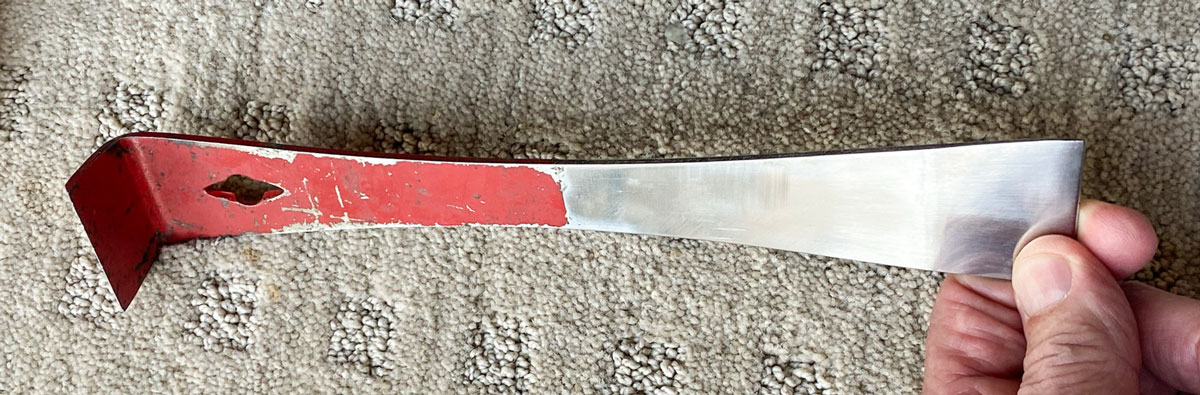
The other hive tool is known simply as a "Hive tool", sometimes called a traditional hive tool or an American hive tool. You can purchase one of these for about $6. The reason I use the standard hive tool is because it is thinner than the J-hook tool. One thing you have to do is pry boxes apart - the bees glue everything together - and this standard tool is thinner than the J-hook tool. It's easier to stick between the boxes to pry them apart. But for working the frames, the J-hook is superior. Both of these tools are stainless steel.
Smokers
You really, really need a smoker. Smoke calms the hive and makes your job easier. Without smoke the bees are likely to come pouring out of the hive looking for what's attacking them (you).
Except in very limited situations you should always smoke the bees before opening the hive. As a beginner you should always smoke before opening the hive.
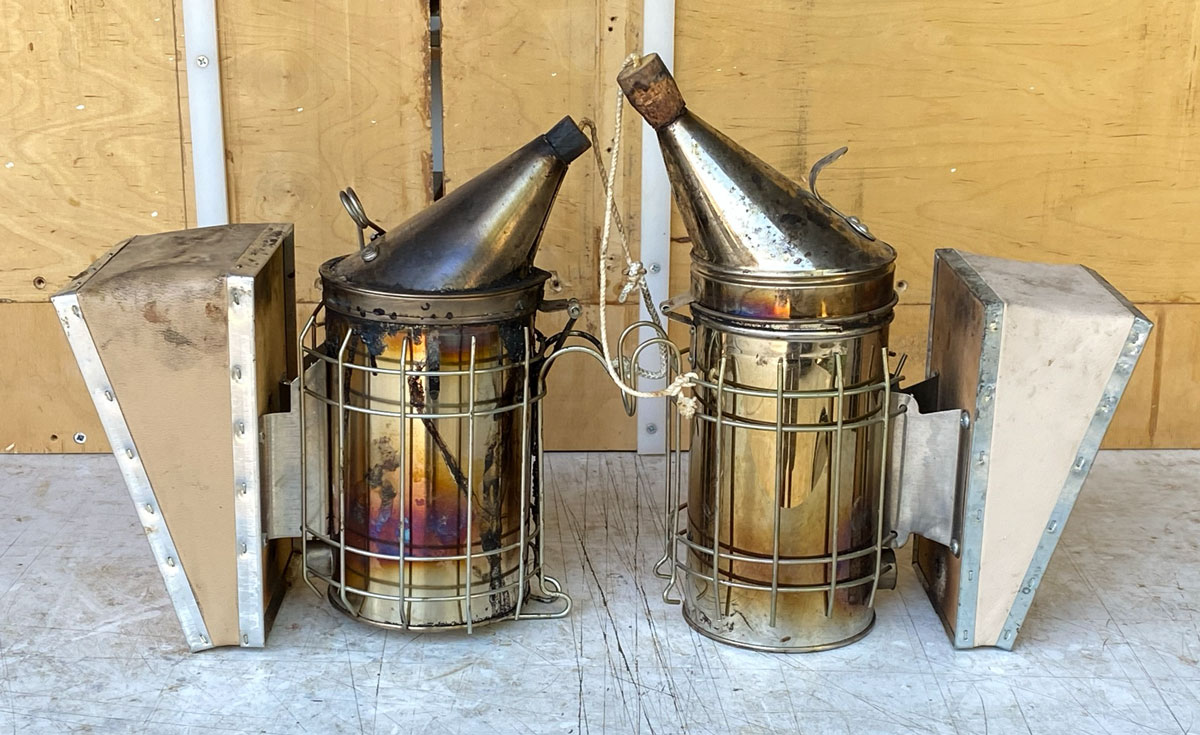
I would recommend a 4x7 smoker. Other sizes are available and later you might choose a different size. But I think most people use the 4x7. Here are two 4x7 smokers, the one from Dadant is on the left and the one from Mann Lake is on the right.
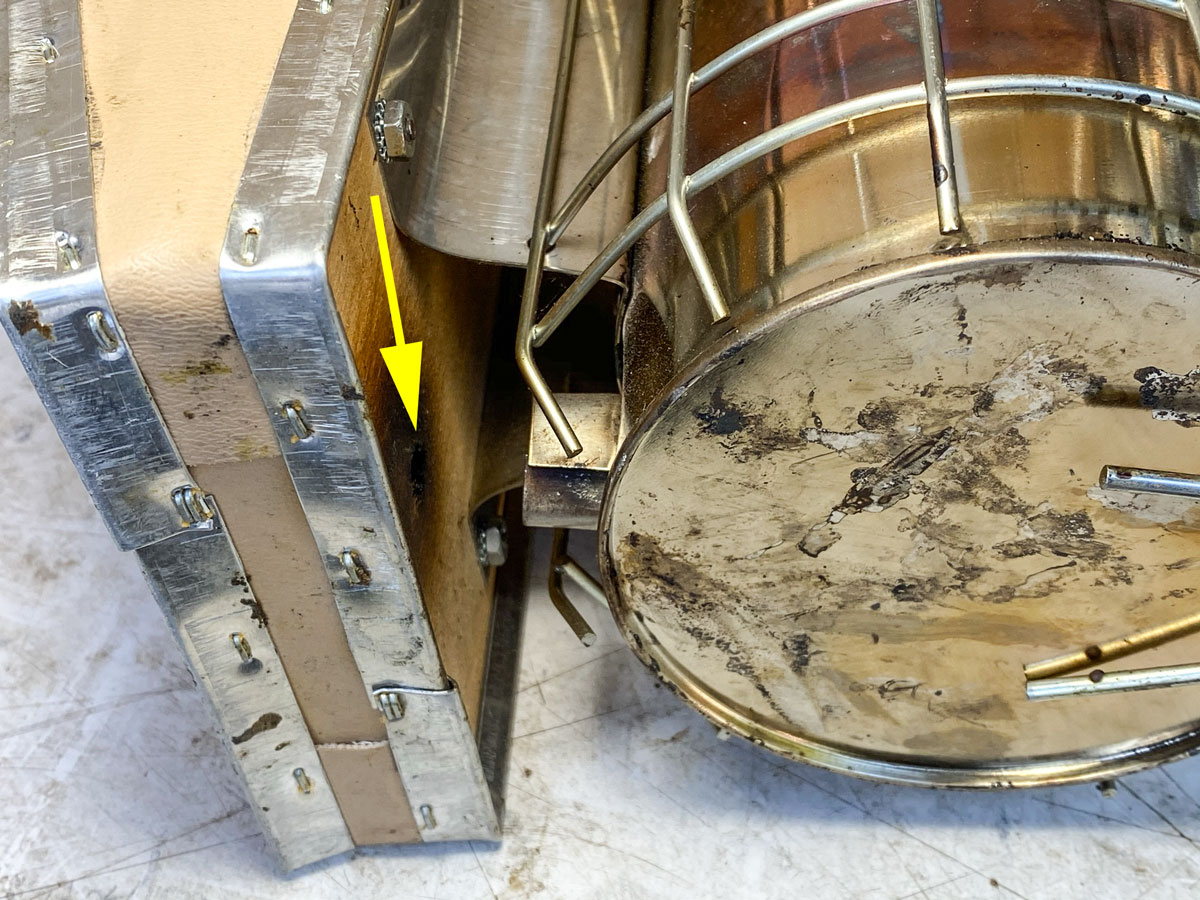
The air output from the bellows is not connected to the smoker with a tube or anything else. There's a gap between the air output hole on the bellows and the hole in the smoker. That's so air can get into the smoker even when you're not pumping the bellows - which allows your fuel to smolder and smoke. The output hole on the bellows is a bit difficult to see in this picture so I put an arrow pointing to it. The bellows blows air into the short tube connected to the smoker.
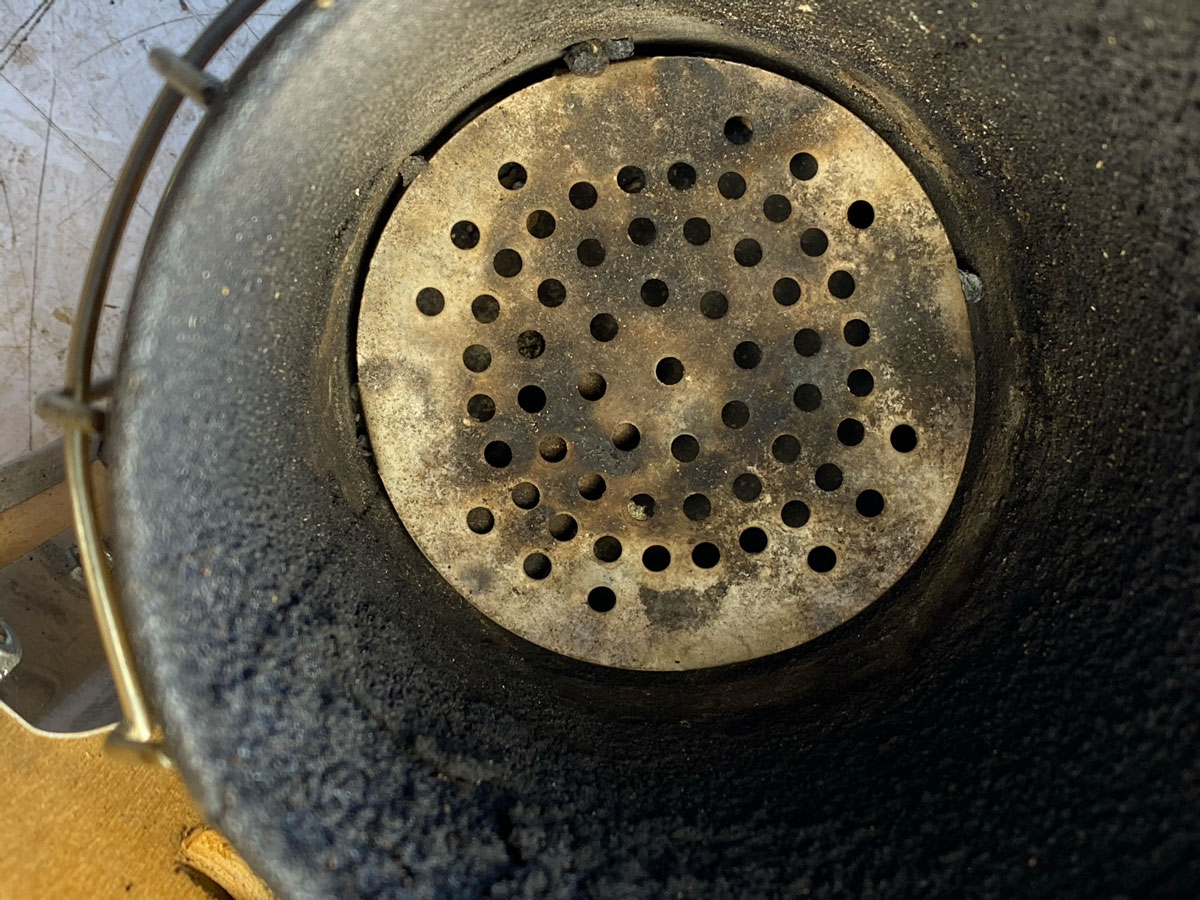
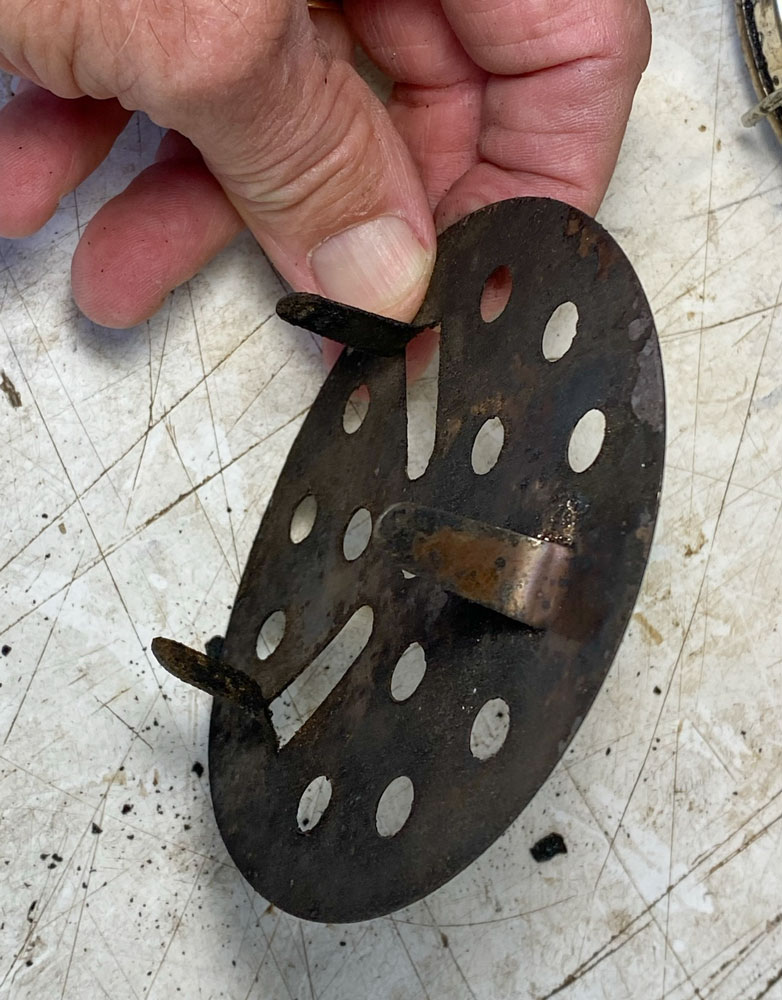
The smoker has a disk with holes in it at the bottom of the smoker. This disk should be located above the air hole in the smoker - in other words, the smoldering fuel should be kept above the air hole. While this helps the air flow, the real reason for this is to prevent some of the smoldering fuel from falling out of the air hole in the smoker. If you're working in dry grass you might be surprised by a fire at your feet.
Here's a view into the Dadant smoker. The disk is fixed in this smoker at a location just above the air hole.
The Mann Lake smoker has a removable disk and it has three tabs on it. When you receive it, the tabs are flat with the disk. You need to bend them down so that the disk is raised in the smoker above the air hole.
Mostly because of this, I prefer the smoker from Dadant rather than the one from Mann Lake. A good quality stainless steel smoker is about $45.
You also need to make a plug for the smoker. When you're finished using the smoker put the plug into the spout and the smoldering fuel will go out from lack of oxygen. You can use a wooden plug or a cork but the wooden plug will last longer. Eventually they'll be burned and you'll have to replace the plug.
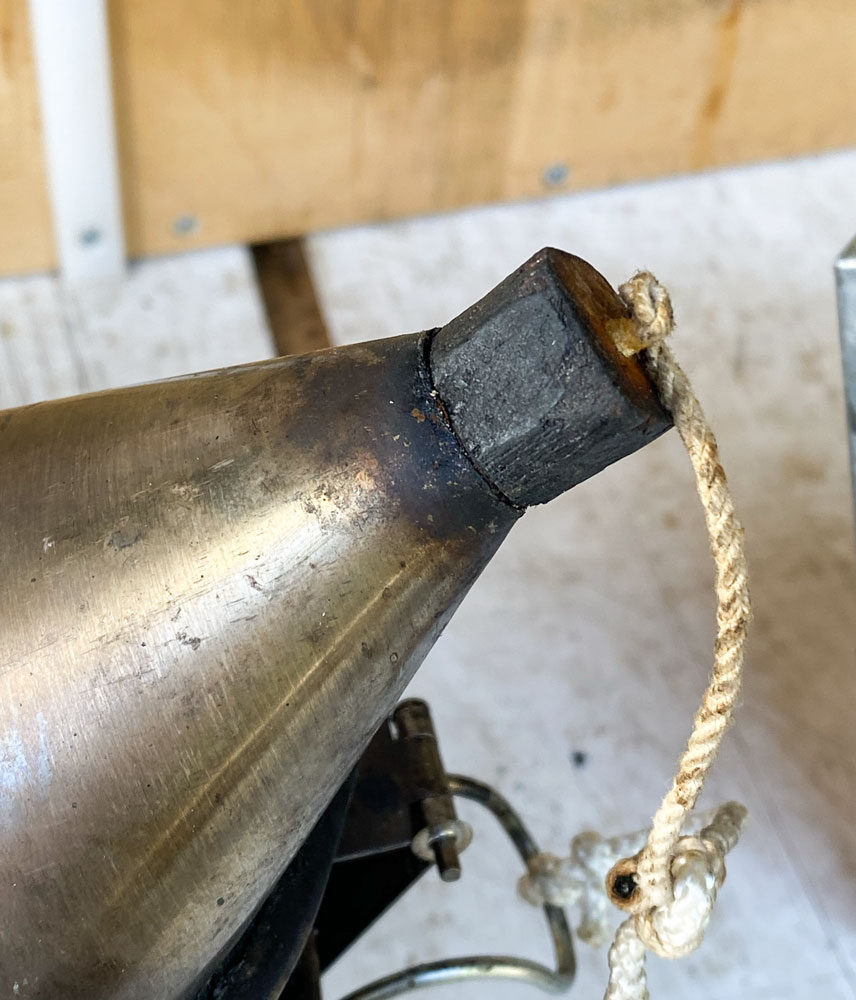
Attaching the plug with some string or wire is a good idea just so you don't lose it.
I'll do another tutorial later discussing smoker fuel and how to light and use a smoker.
But for now, that concludes this tutorial on the basic beekeeping equipment. Next I'll discuss the components of the Langstroth hive, which is the most common type of hive.
Go to the discussion of the Langstroth hive here